
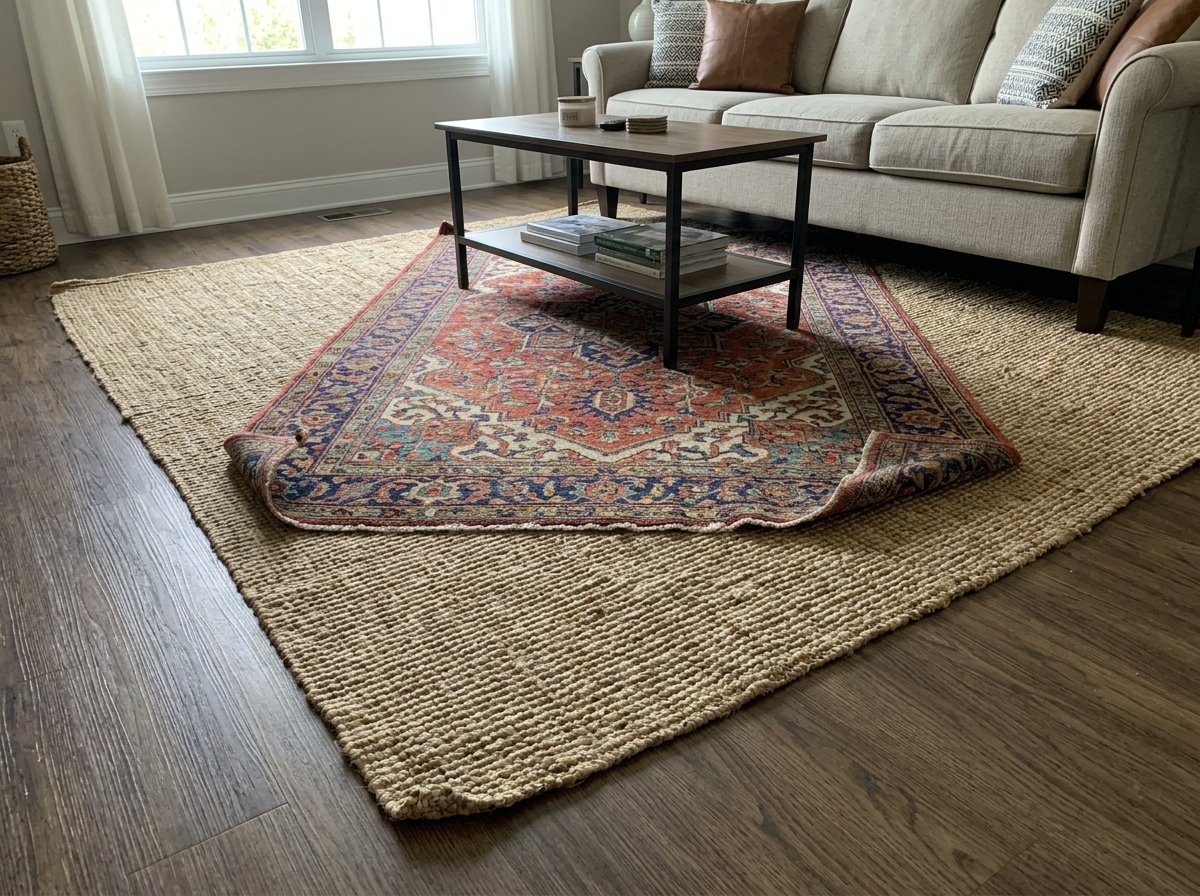
My first attempt at layering rugs lasted about a week before I pulled the top one back off.
It looked less like an intentional design choice and more like I’d spilled a rug on top of another rug.
The base rug was too small, the top rug was too centered, and the whole thing bunched up every time someone walked across it.
Rug layering is one of those trends that looks effortless in photos and is genuinely easy to get wrong in person, because most of what makes it work — proportions, texture contrast, where the edges actually land — doesn’t show up until the rugs are sitting on your actual floor in your actual room.
It’s not really about buying “a base rug and a smaller rug,” even though that’s how most posts describe it.
This post covers the sizing math that actually matters, which rug pairings hold up over time versus which ones look good in a photo and then annoy you daily, how to keep layered rugs from sliding or bunching, and the cost-conscious way to do this if you’re not about to buy two full-price area rugs.
Why Layer Rugs At All (The Actual Problem It Solves)
Layering rugs isn’t just a texture thing — it’s usually solving one of two real problems: your “good” rug is the wrong shape or size for the room, or your floor itself is the problem (rental carpet you can’t stand, a plain sisal or jute rug that reads a little flat on its own). A second rug on top lets you keep a durable, budget, or neutral base while putting the rug you actually love — often a smaller vintage or patterned piece — somewhere it wouldn’t work as a standalone rug.
It also solves a sizing problem a lot of living rooms have. A properly sized area rug for a living room is often bigger and more expensive than people expect, and a jute or sisal base rug is one of the cheaper ways to get full room coverage without paying full-room-coverage prices for the rug you actually wanted.
Pro tip: If your living room rug is too small for your furniture layout, layering a second rug on top will not fix that — it just adds a smaller rug on top of a still-too-small rug. Solve the base sizing problem first, then layer for style.
The Sizing Math Nobody Explains Clearly
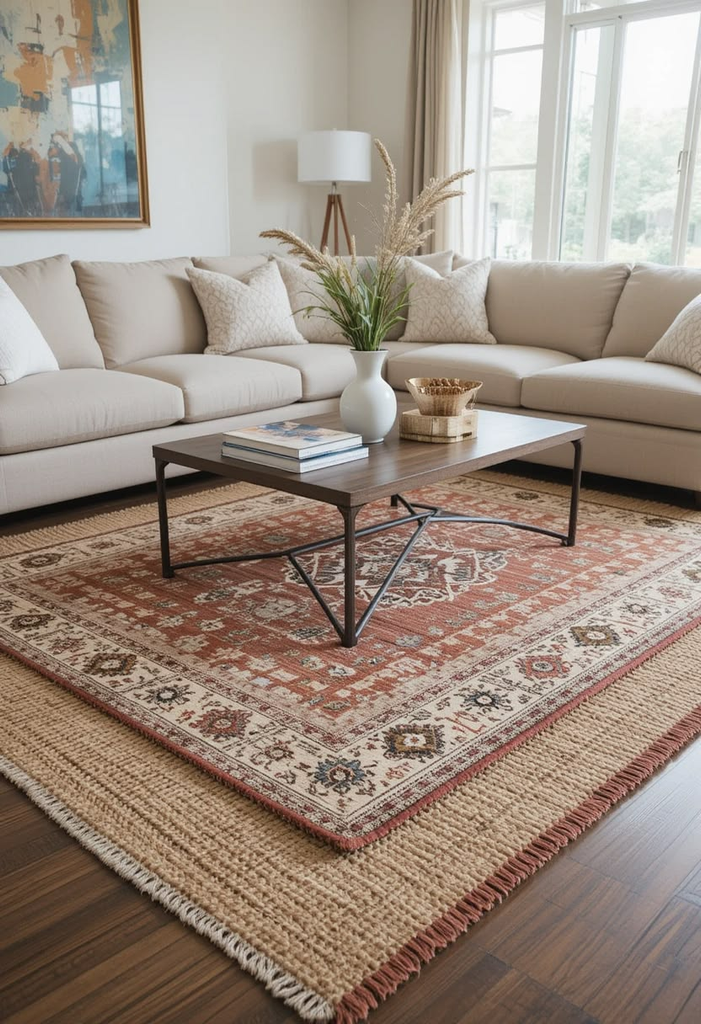
The base rug should be sized the way any single living room rug should be — big enough that at least the front legs of your seating (sometimes all four, depending on room size) actually sit on it. In a smaller living room, that’s often an 8×10 or 6×9; in a larger open-concept space, you’re realistically looking at 9×12 or bigger.
The top rug is where people go wrong. The instinct is to buy something noticeably smaller — say a 4×6 — and just center it, but a 4×6 on top of an 8×10 leaves a huge, evenly spaced border all the way around, which is exactly the “rug on a rug” look that reads flat instead of intentional. What actually works is a top rug that’s closer to two-thirds to three-quarters the width of the base rug, placed off-center — pulled toward a seating area or a coffee table rather than centered in the middle of the base.
Pro tip: Lay both rugs down with painter’s tape marking the top rug’s corners before you commit, and live with it for a day. What looks off-center from the doorway often looks perfectly balanced from the couch, which is the angle that actually matters.
Rug Pairings: What Holds Up vs. What Looks Good for a Photo
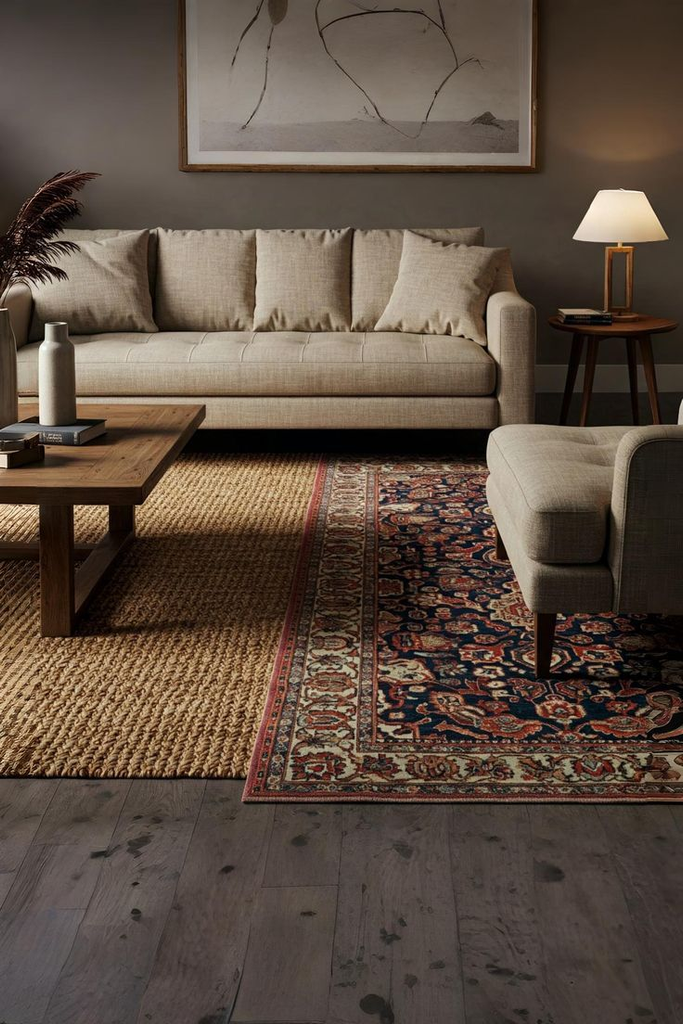
Not every base-and-top combination wears well day to day. Some pairings look great in a single photo and become genuinely annoying to live with — sliding, bunching at the edges, or showing wear in a way that looks messy rather than lived-in.
| Pairing | How It Wears | Best For |
|---|---|---|
| Jute/sisal base + wool or vintage top | Very stable, top rug’s weight keeps it from sliding | Most living rooms; the classic, low-maintenance option |
| Flatweave base + shag or plush top | Comfortable underfoot, but the top rug edges curl over time | Cozy corners, reading nooks, not high-traffic paths |
| Two flatweave/kilim-style rugs | Prone to sliding against each other without a rug pad | Bold pattern-mixing, low-traffic rooms only |
| Solid base + patterned/vintage top | Most forgiving as top rug fades or shows wear first | If your top rug is a secondhand or vintage find |
My friend Rosa went with two flatweave rugs stacked together because she loved how the patterns played off each other in photos, and within a month the top one was sliding a few inches every time her dog ran through the living room. She ended up adding a thin rug pad between the layers, which fixed it completely — but it’s a step a lot of layering guides skip entirely.
Keeping Layered Rugs From Sliding or Bunching
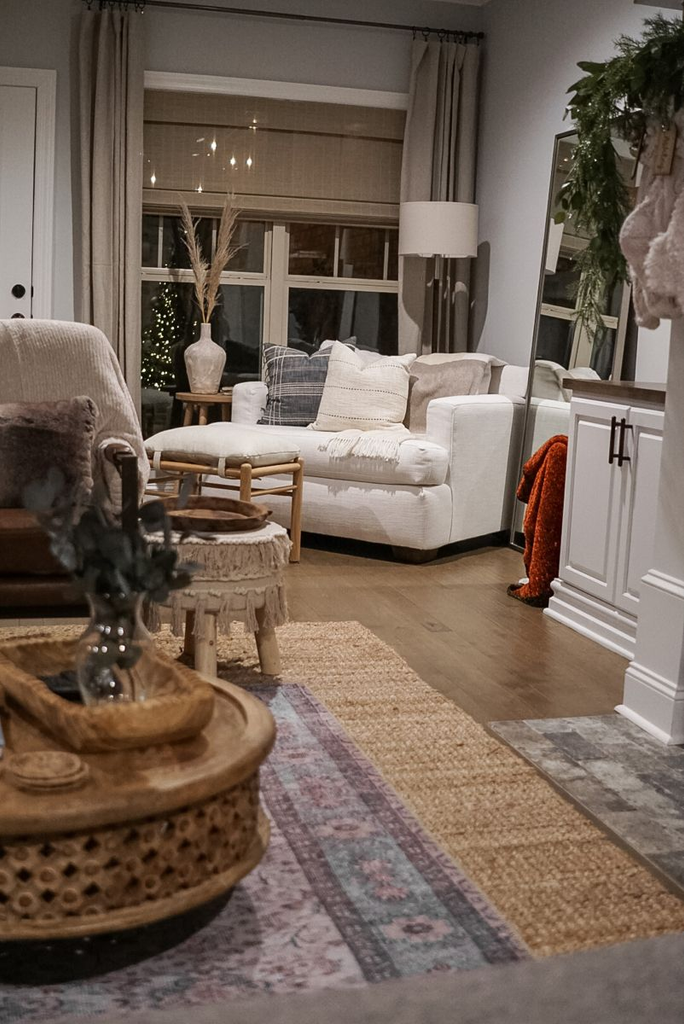
This is the least glamorous part of rug layering and the part that actually determines whether you keep the look or give up on it in three weeks. A thin, low-profile rug pad between the base and top rug does most of the work — not a thick cushioned pad, which actually makes the top rug more likely to shift, but a flat grip-style pad made for layering specifically.
For furniture sitting directly on the top rug, rug corner grippers or double-sided rug tape at the corners keep things from creeping, especially in a high-traffic path like in front of a couch or between a coffee table and TV.
Pro tip: Skip the pad in a spot where a piece of furniture is already anchoring one edge of the top rug — a coffee table leg or a couch corner does the same job a pad would in that specific area, so you can save the pad for the exposed edges instead.
Layering Over Rental Carpet
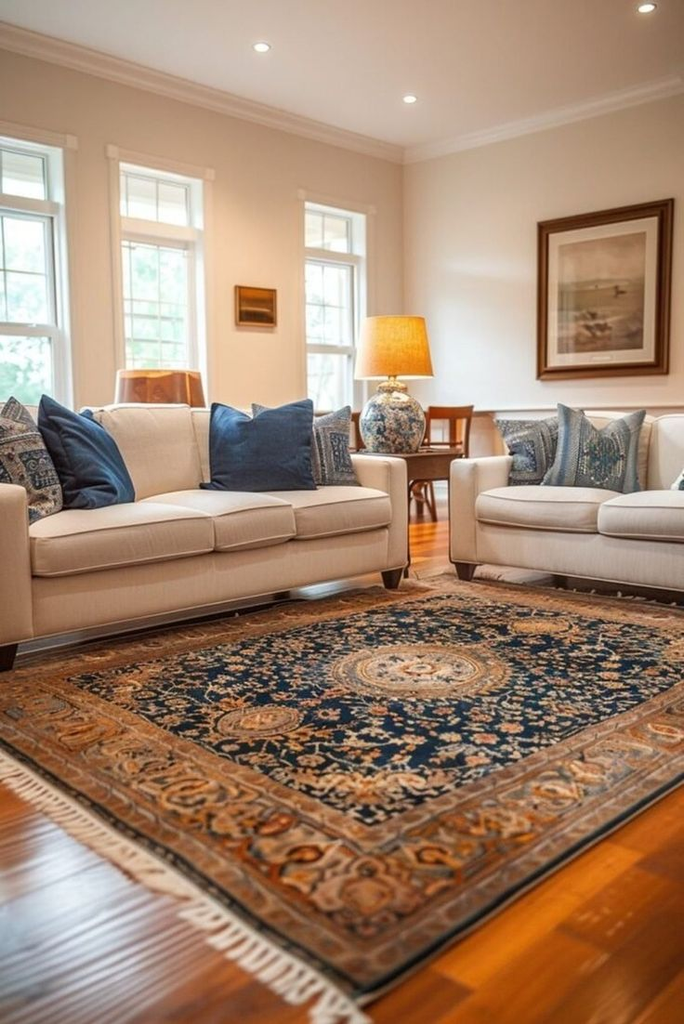
If your “floor problem” is rental carpet rather than hardwood, layering works a little differently. Wall-to-wall carpet is often a slightly awkward neutral color, and a base rug on top of carpet can look like it’s floating unless it’s large enough to visually anchor the seating area the same way it would on hardwood. A jute or flatweave base still works here, but skip the rug pad underneath the base layer — carpet already has grip, and adding a pad on top of carpet under a base rug tends to create a squishy, uneven surface rather than a stable one.
A reader mentioned in the comments on an earlier post that she’d used two layered rugs specifically to hide a large carpet stain in a rental, and it worked, but she sized the base rug intentionally larger than she otherwise would have to make sure the stain stayed fully covered even after the rugs got walked on and shifted slightly over months.
What This Actually Costs
| Item | Budget Approach | Approx. Cost |
|---|---|---|
| Base rug (8×10 jute/sisal) | Big-box or online basics line | $80-160 |
| Top rug (5×7-6×9) | Secondhand, vintage marketplace, or clearance | $0-120 (huge range) |
| Thin layering rug pad | Low-profile grip pad | $15-30 |
| Corner grippers/rug tape | 4-8 pack | $8-15 |
The base rug is almost always the bigger expense, which is exactly why the jute-base-plus-secondhand-top approach is so popular — it lets you spend on size where it matters (the base) and get lucky on character where it doesn’t need to be expensive (the top).
What I’d Do Differently
I’d buy the rug pad on day one instead of treating it as an optional add-on after the top rug started sliding, and I’d stop centering the top rug out of habit.
Once I pulled it off-center and toward the seating area instead of the middle of the room, the whole thing finally looked like a choice instead of an accident.
If your living room has a rug situation that’s felt slightly off for a while, there’s a decent chance it’s not the rugs themselves — it’s the proportions and placement, and that’s the part actually worth fixing first.





Leave a Reply