
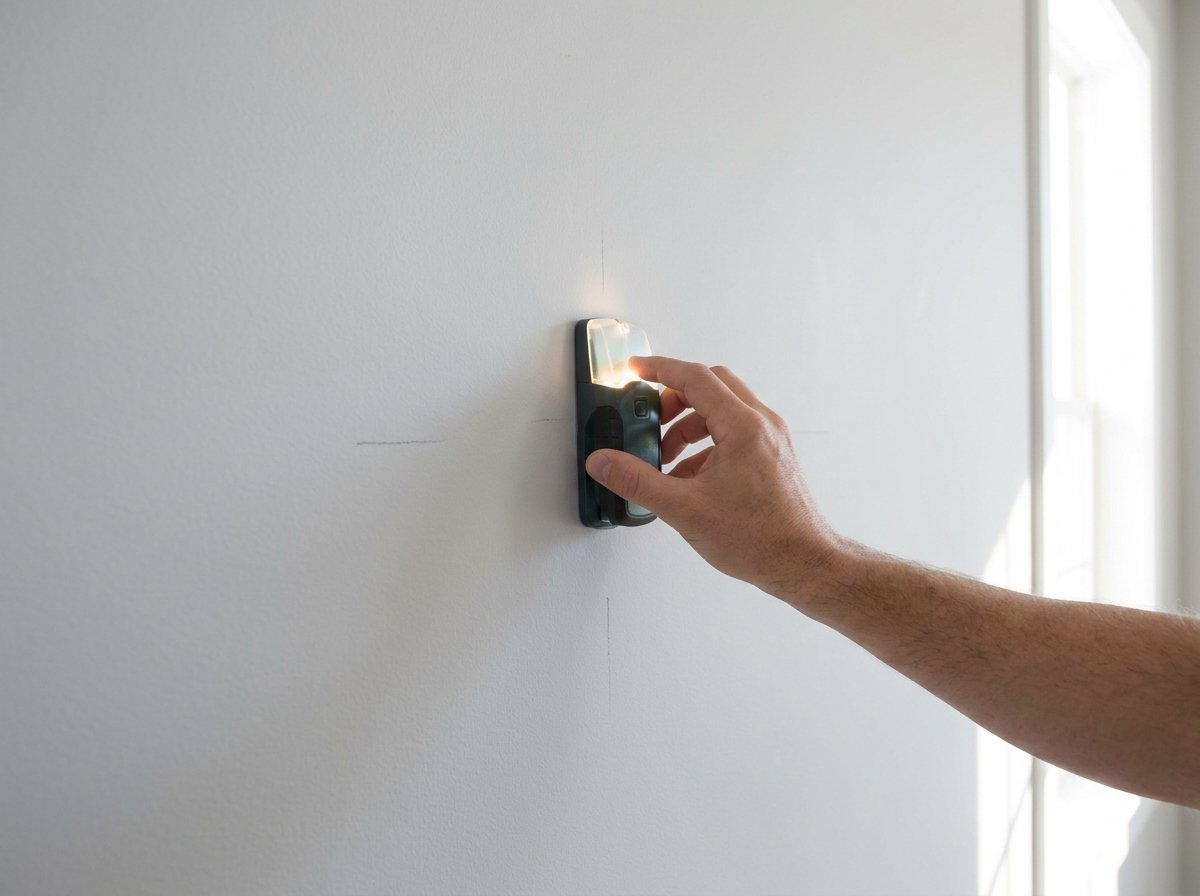
My living room wall was empty for eight months. Not “minimalist” empty — just empty because I didn’t own a stud finder and every YouTube tutorial made it look like a two-hour job that would somehow take me an entire Saturday anyway.
Then my downstairs neighbor put up a row of floating shelves over her TV and texted me a picture like she’d just discovered fire, and I finally did it myself.
It took a full weekend, not because the shelves are hard to install, but because I made basically every mistake there is to make on my first one and had to redo it.
If you’ve got a bare wall, a stack of books with nowhere to live, or a living room that reads more “storage unit” than “place I relax,” floating shelves are one of the few home projects that actually deliver on the Pinterest promise.
They’re not just decorative — they solve a real space problem without eating floor space, which matters a lot if you’re working with a smaller living room or a rental where every square foot counts.
This post covers what floating shelves actually cost, the different mounting types and which one you actually want (this is where I went wrong the first time), a real weekend-by-weekend plan, the renter-specific stuff nobody tells you, and the styling mistakes that make shelves look like an afterthought instead of a feature.
Why Floating Shelves Actually Solve a Problem (Not Just a Trend)
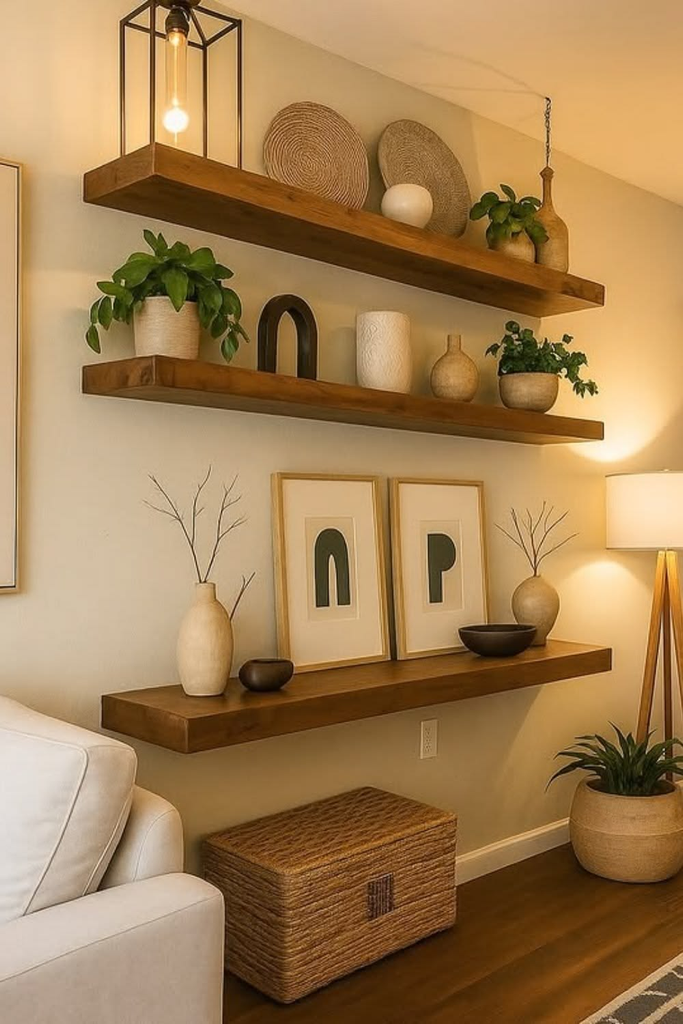
The appeal of DIY floating shelves for a living room isn’t really about aesthetics first — it’s about the fact that a bookshelf or console table takes up floor space you might not have, especially in a smaller apartment. Floating shelves live entirely on the wall, which means you get storage and display space without shrinking your walking room or blocking a window.
They’re also one of the few renter-friendly shelving options that still look intentional. A lot of “renter-friendly” storage solutions — over-the-door racks, tension rods, stick-on hooks — look like exactly what they are. Properly installed floating shelves look like a built-in, even in a rental, as long as you’re using the right anchors for your wall type (more on that below).
Pro tip: If you’re renting, check your lease before you drill. Most leases allow small nail or screw holes as long as you patch them at move-out, but some specifically call out wall-mounted shelving. It takes five minutes to check and saves you a security deposit argument later.
Floating Shelf Types, Compared: Bracket, Cleat, and Hidden-Mount
This is the part I got wrong the first time. I bought a set of “floating shelves” from a big box store without realizing there are three genuinely different mounting systems, and they are not interchangeable in terms of weight capacity, wall damage, or how “floating” the shelf actually looks once it’s up.
| Mounting Type | Weight Capacity | Wall Damage | Best For |
|---|---|---|---|
| Visible bracket | Highest (20-50+ lbs with studs) | 2-4 holes per bracket | Books, plants, anything heavy |
| Hidden cleat (French cleat) | Medium-high (15-30 lbs) | Small screw line, hidden behind shelf | Clean look over a couch or TV |
| Hidden rod/bracket (true floating) | Lower (5-15 lbs unless into studs) | 2-3 small holes, invisible once mounted | Decor, small plants, picture ledges |
I used the third type — the kind where a metal rod slides into a pre-drilled hole in the shelf itself — over my couch, thinking it would hold a small stack of hardcover books plus a plant. It held for four days and then slowly tilted downward until my books were basically doing a slide. I didn’t hit a stud, and that style of shelf really depends on solid wall contact to carry any real weight. I swapped it for a hidden cleat mount anchored into two studs, and it hasn’t budged in over a year.
Pro tip: If a shelf is going anywhere near eye level or over seating, assume it needs stud support even if the packaging says otherwise. Drywall anchors are rated for the anchor, not for how the shelf will actually get loaded and leaned on in real life.
What You Actually Need (And What It Costs)
You don’t need a full workshop for this, but you do need a few specific tools — skipping the stud finder is the single most common reason floating shelf projects fail.
| Item | Budget Option | Approx. Cost |
|---|---|---|
| Stud finder | Basic magnetic stud finder | $8-15 |
| Level | Small torpedo level | $6-12 |
| Shelves (set of 3) | Big-box store floating shelf kit | $25-60 |
| Drywall anchors (if not hitting studs) | Toggle-bolt style, rated 20+ lbs | $5-10 |
| Drill | Borrow, rent, or entry-level cordless | $0-40 |
Realistically, if you already own a drill, this is a $40-60 project for a set of three shelves. Mine ran closer to $75 because I bought the wrong drywall anchors twice before I found the ones actually rated for the weight I wanted.
The Actual Weekend Plan
Friday night (20 minutes): This is planning, not building. Hold a piece of shelf-width cardboard or painter’s tape up on the wall where you think you want shelves, and live with it overnight. I skipped this step the first time and hung my shelves twelve inches too close to the ceiling — they looked fine in the moment and wrong every single day after.
Saturday morning (2-3 hours): Run the stud finder across your marked area and mark every stud with a pencil, even the ones you don’t think you’ll use — it saves time later if you adjust placement. Level your first shelf’s bracket or cleat, drill your pilot holes, and mount it. Don’t rush the leveling; an off-level shelf is obvious the second anything sits on it.
Saturday afternoon: Repeat for the remaining shelves, spacing them 10-14 inches apart if you’re stacking a vertical set — closer than that and it starts to feel cramped, farther and it looks disconnected.
Sunday: This is styling day, and it deserves its own section below, because this is where a lot of otherwise well-built shelves end up looking cluttered or oddly empty.
Pro tip: Drill your pilot hole slightly smaller than your screw, not the same size. A reader once mentioned in the comments on a similar post that her shelf screws kept stripping out of the wall — turned out her pilot holes were too big for the screws she was using, so there was nothing left for the threads to actually grip.
Styling So It Doesn’t Look Like a Display Shelf at a Store
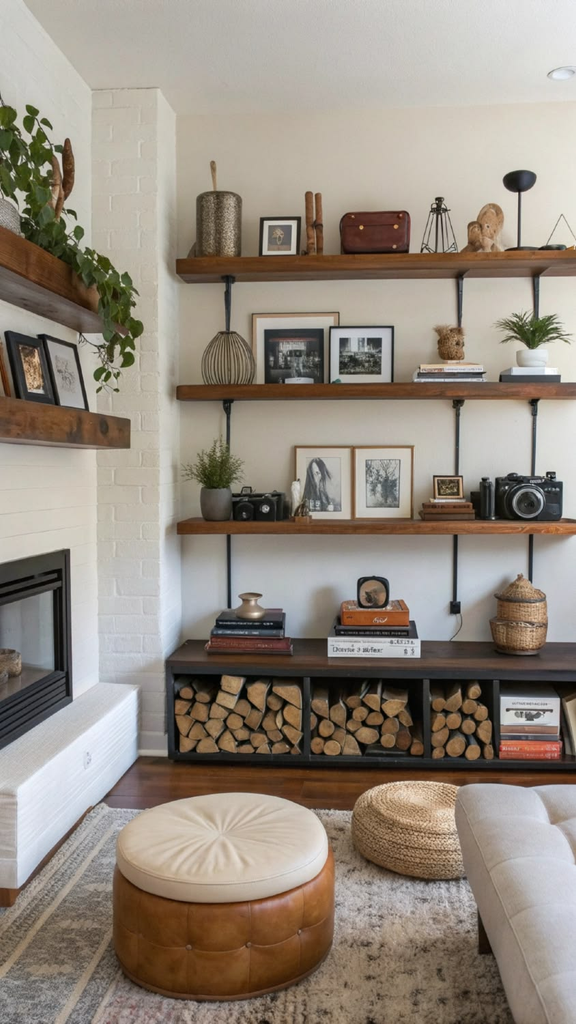
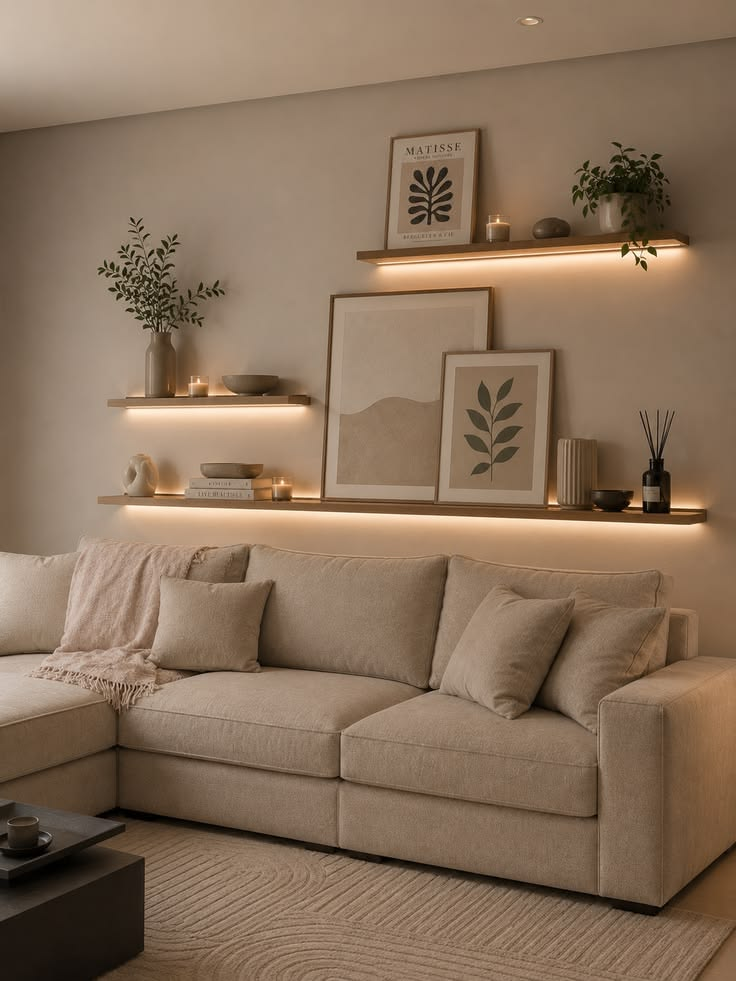
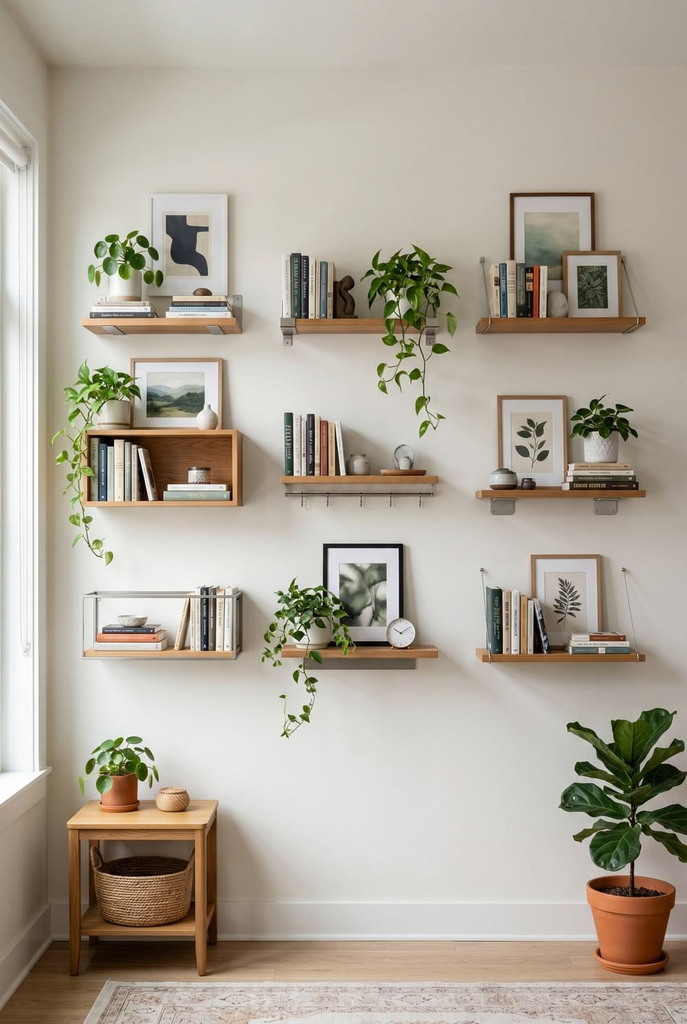
The single biggest mistake I see with floating shelves — mine included, at first — is symmetry. Perfectly centered, evenly spaced objects on every shelf reads as staged, not lived-in. What actually looks intentional is asymmetry with a rhythm: one taller item anchoring one side of a shelf, a small stack of 2-3 books lying flat with something small on top, and then negative space. Real shelves have breathing room.
My friend Diane redid her floating shelves three times before landing on something she liked, and the thing that finally worked was grouping by height instead of by category — putting the tallest items (a vase, a framed print leaning against the wall) toward the back-left of each shelf and letting everything else step down in height toward the front-right. It reads more like a gallery wall than a shelf full of stuff.
Finding Studs When Your Wall Fights You
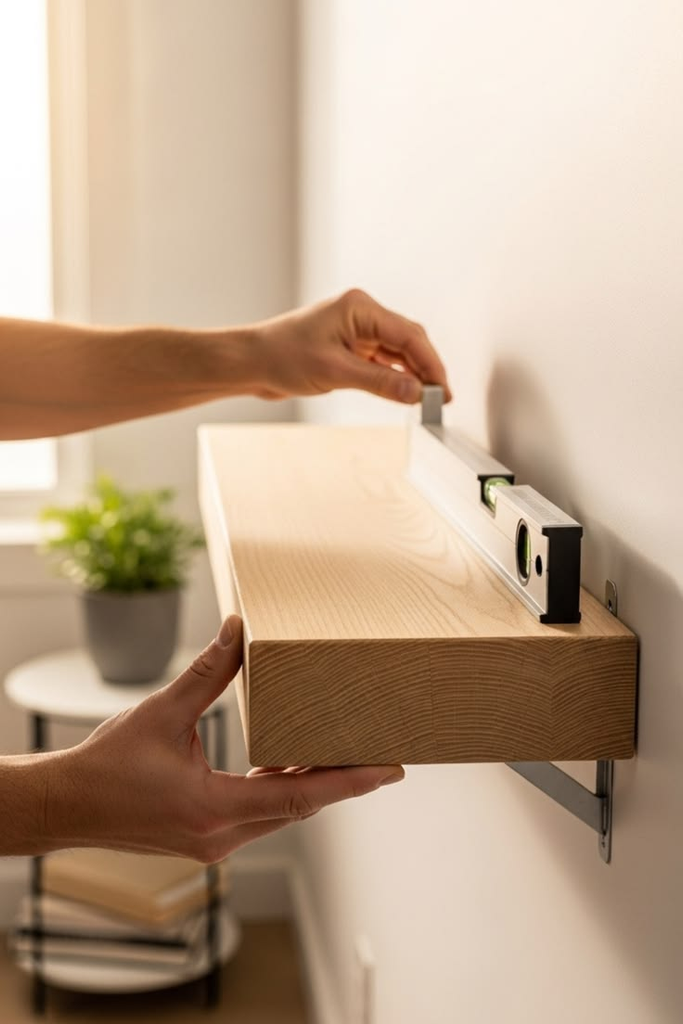
Stud finders are not perfect, especially on older plaster walls or walls with a lot of wiring behind them. If yours is giving inconsistent readings, tap the wall lightly with a knuckle — a stud sounds noticeably more solid (“thud” vs. a hollower “tap”) — and cross-check with a small nail in an inconspicuous spot before you commit to your drill placement.
Pro tip: Studs are almost always spaced 16 inches on center in standard construction, so once you find one, you can usually predict the next one without re-scanning the whole wall.
If You’re Renting: What Actually Matters
The honest version of “renter-friendly floating shelves” is that heavy-duty removable adhesive strips exist and work for very light decor, but they are not a real substitute for anchored shelves carrying books or anything with real weight — I tried this shortcut once with a lighter accent shelf and it held for about two weeks before sliding.
If you want real floating shelves in a rental, the move is small screw holes into studs where possible, and a tube of spackle and a tiny sample of wall paint kept specifically for move-out patching. Three or four small holes patched well are rarely a deposit issue; large drywall anchor holes left unpatched are a different story.
What I’d Do Differently If I Started Over
I’d buy the stud finder and drywall anchors before the shelves themselves, instead of guessing at the store.
I’d also commit to the cleat-style mount from the start instead of the decorative rod style, since almost everything I actually wanted to put up there — books, a plant, a small lamp — needed more support than the lightweight version could give.
The look ends up nearly identical once it’s on the wall; the difference only shows up a few weeks in, when one version is still level and the other one isn’t.
If your living room has one bare wall that’s been bothering you for months the way mine did, this really is a weekend project, not a “someday” project — as long as you spend the twenty minutes on Friday actually deciding where things go instead of winging it Saturday morning.


Leave a Reply