
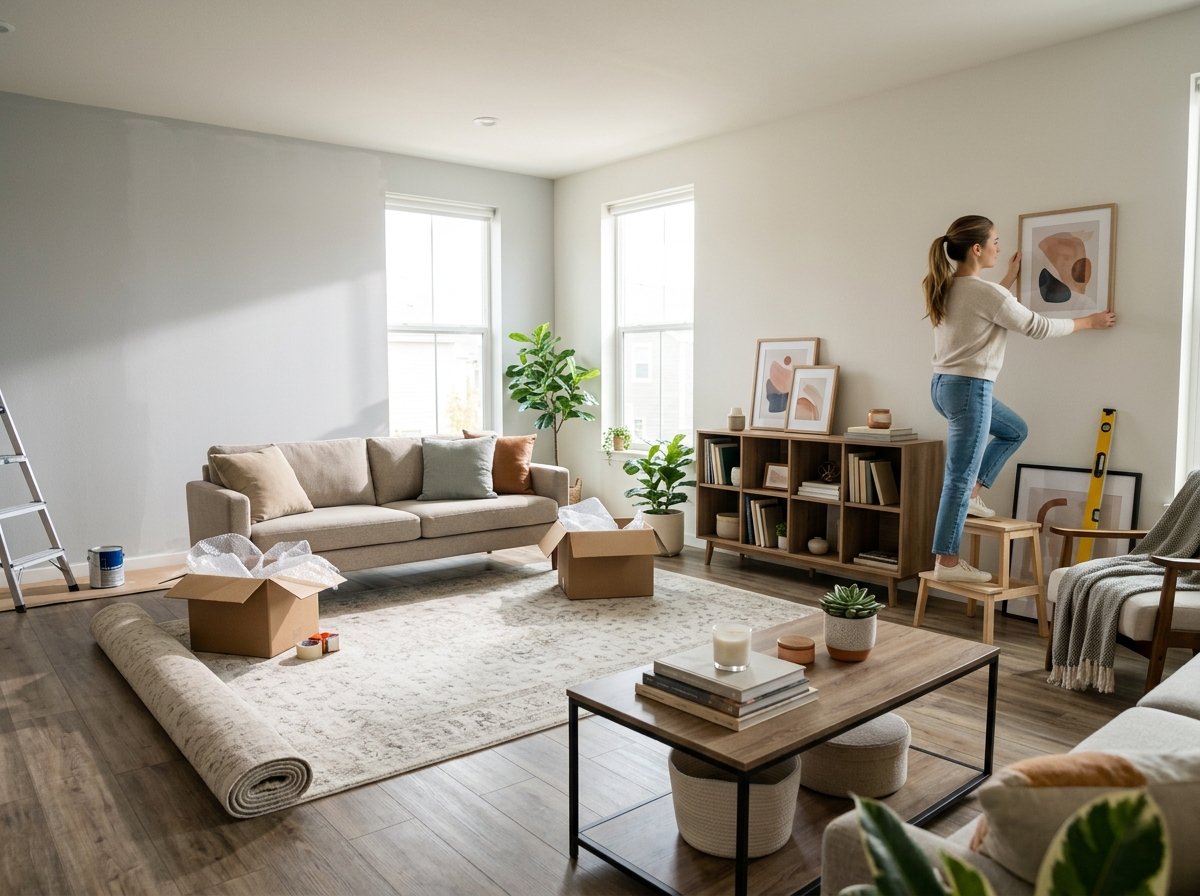
I redecorated my first living room entirely backwards. I bought a rug I loved, then a coffee table that didn’t quite match it, then curtains that clashed with both, then spent an entire Saturday standing in the middle of the room trying to figure out why nothing felt cohesive even though every individual piece was something I genuinely liked.
It took me embarrassingly long to realize the problem wasn’t any single item — it was that I’d never actually decided what the room was supposed to feel like before I started buying things for it.
Living room decorating for beginners gets harder than it needs to be because most advice starts in the middle of the process — “add a statement rug,” “layer your lighting,” “get a gallery wall” — without ever addressing the actual first step, which is figuring out your starting point before you spend a dollar.
If you’ve never decorated a room from scratch before, or you’ve inherited furniture and vibes from a previous version of your life and want to start over intentionally, this is genuinely one of the more overwhelming rooms to tackle because it’s usually the biggest, most-used, most-seen space in the whole house.
This is a start-to-finish process, not a list of disconnected ideas, because that’s actually how good living room decorating works — each decision builds on the one before it.
I’ll walk through figuring out your function and style before you buy anything, the order to actually make purchases in (which matters more than people think), and the finishing touches that make a room feel done instead of half-decorated. I’ll flag what’s worth spending real money on early and what you can wait on.

Step 1: Figure Out How the Room Actually Gets Used Before You Decorate It
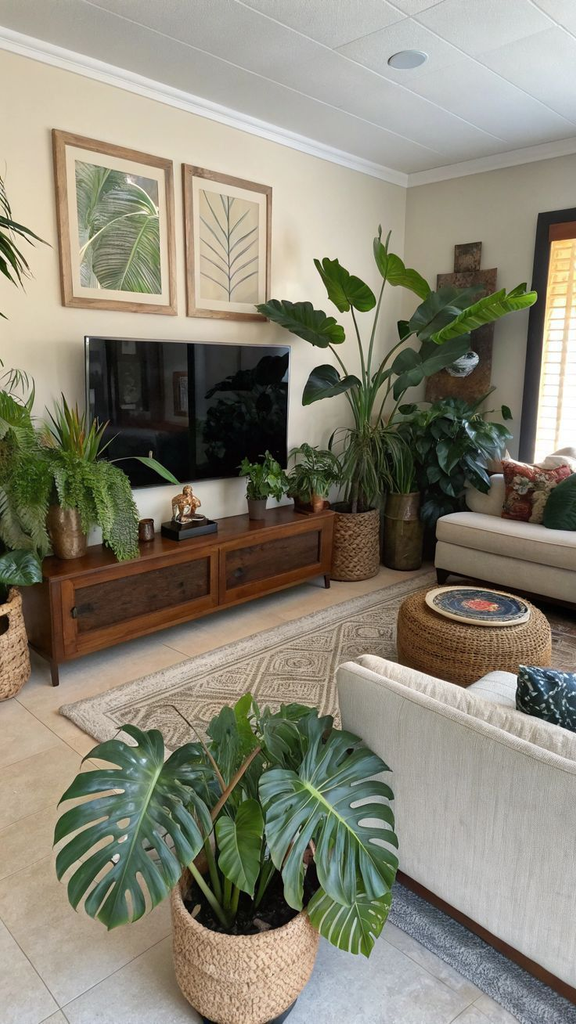
This is the step almost everyone skips, and it’s the reason so many living rooms end up beautiful but slightly impractical — a coffee table too fragile for actual feet up on it, seating arranged for looks instead of conversation, no good spot to actually watch TV from. Before any decorating decision, write down (actually write it down, don’t just think it) how you and whoever else lives there really use the room: TV-watching, hosting friends, working from the couch, a dedicated reading spot, kids doing homework on the floor.
Once you know the real use case, everything downstream gets easier to decide, because you’re not choosing furniture in a vacuum — you’re choosing furniture that has to survive and support what you actually do in there. My friend Alicia designed her first “real” living room around a beautiful glass coffee table before realizing her toddler needed something without sharp edges and a surface that wasn’t precious about crayon marks, and she ended up replacing it within four months, which is money and effort you can skip by thinking this through up front.
Pro tip: If more than one person uses the room regularly, have an actual conversation about how each of you uses it before you start — a lot of living room compromises get made silently and resentfully instead of decided on purpose, and it shows in a room that never quite works for either person.
Step 2: Pick a Style Direction Before You Look at a Single Product
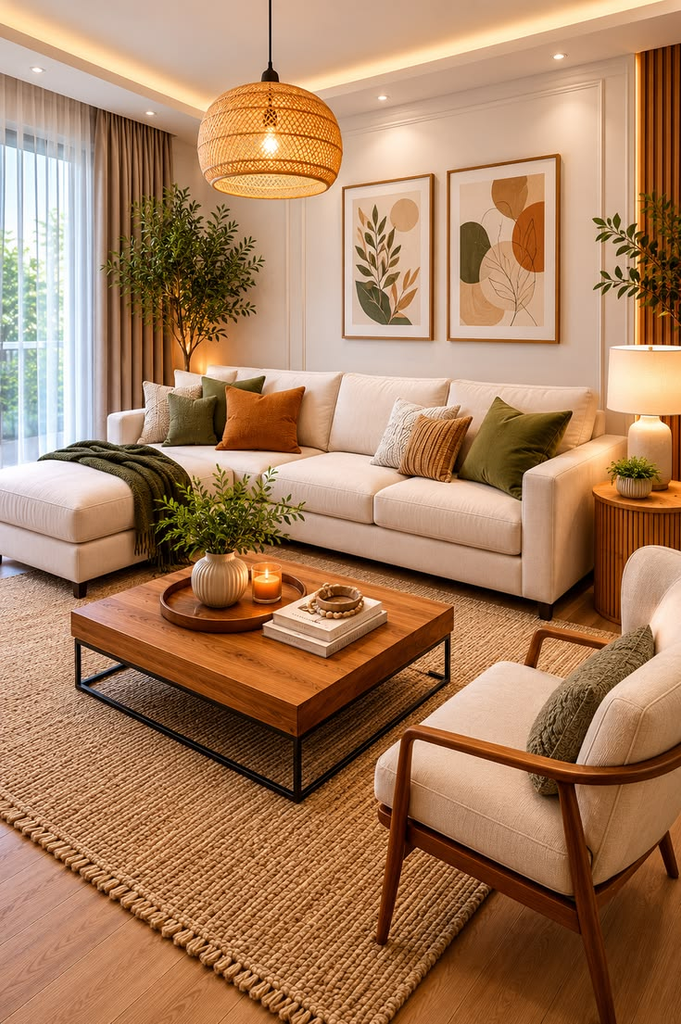
Scrolling home decor inspiration without a filter is one of the fastest ways to end up overwhelmed and buy things that don’t cohere, because you’ll genuinely love ten completely different aesthetics if you look at enough of them in a row. Before shopping, narrow down to one general direction — modern minimalist, warm traditional, mid-century, coastal, eclectic-maximalist, whatever genuinely feels like you — and commit to it as your filter for every purchase going forward.
You don’t need a fully articulated design philosophy; you just need enough of a direction that when you’re standing in a store or scrolling a site, you can ask “does this fit the style I picked” instead of “do I like this in isolation.” A helpful trick if you’re stuck: look at the handful of rooms you keep coming back to and saving, and instead of trying to copy any one of them exactly, notice what they actually have in common — that pattern is closer to your real style than any single photo.
Step 3: Set a Realistic Total Budget and Split It by Category
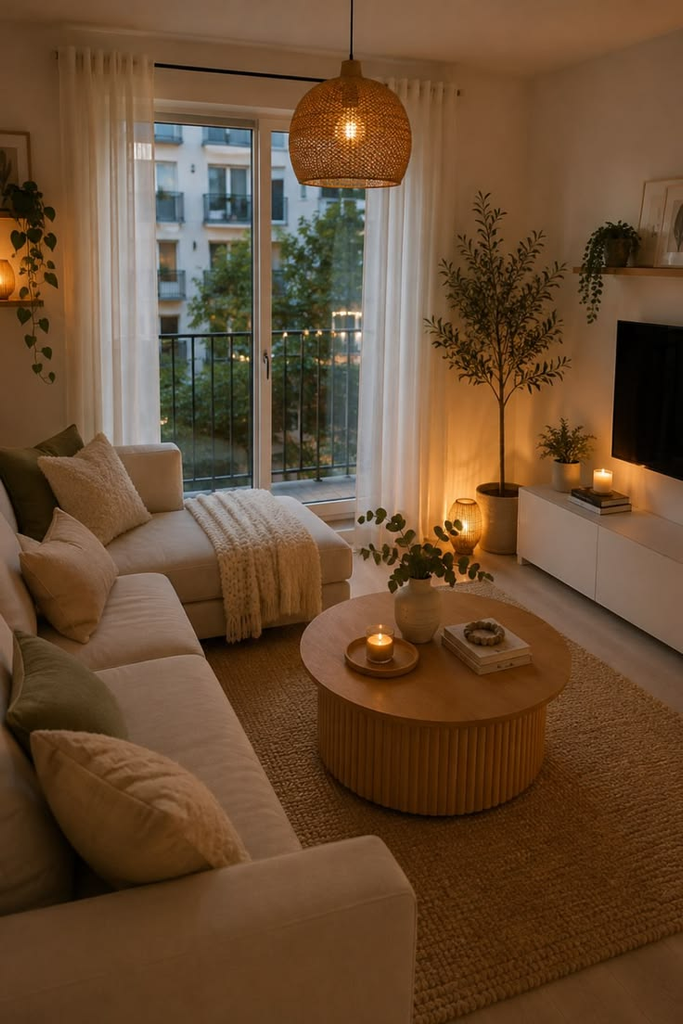
Decorating a living room from nothing is one of the more expensive rooms in a house to furnish, and going in without a total budget is how people end up with a beautiful sofa and then no money left for the rug, lighting, or art that would actually make the room feel finished. Set one number for the whole room, then split it roughly by category — furniture typically eats the largest share, followed by a rug, then lighting, then accessories and art.
What it actually costs: A modest full living room refresh — a sofa, a rug, a coffee table, some lighting, and basic accessories — can be done on a lean-but-real budget if you’re strategic about where you splurge versus save, while a fully custom, all-new-furniture room from a high-end retailer can run many times that same total. Knowing which end of that range you’re working with before you start shopping keeps you from falling in love with something wildly outside your actual budget.
Step 4: Buy the Sofa First, Not the Accessories
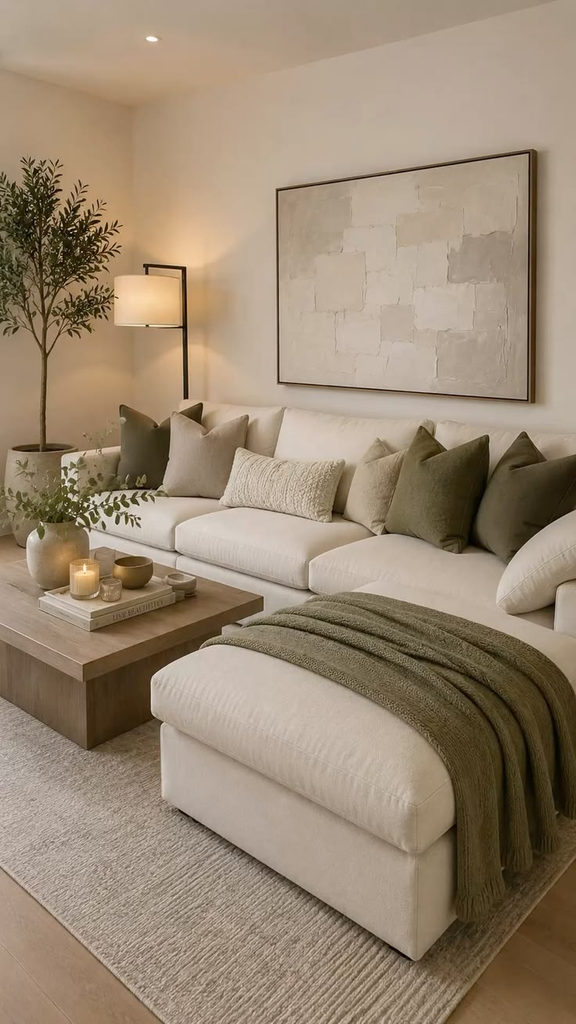
This is the step people get backwards most often, myself included that first time around: the sofa (or your primary seating) is the largest, most expensive, hardest-to-return piece in the room, and everything else — rug size, color palette, coffee table proportions — should be chosen to work with it, not the other way around. Buying smaller, cheaper, more emotionally satisfying pieces first (candles, a cute throw pillow, a piece of art) feels productive, but it often means those pieces end up not fitting the sofa you eventually choose.
If you already own a sofa and are decorating around it rather than starting from zero, treat it the same way — as the fixed anchor everything else needs to complement, rather than something you’ll “deal with later” once the rest of the room looks good.
| Purchase Order | Item | Why This Order Matters |
|---|---|---|
| 1st | Sofa/primary seating | Largest investment, hardest to swap later |
| 2nd | Rug | Anchors the layout and color palette |
| 3rd | Coffee table & other furniture | Sized to the seating arrangement already set |
| 4th | Lighting | Layered in once the furniture footprint is fixed |
| 5th | Art & accessories | Easiest and cheapest to adjust or swap later |
Step 5: Choose Your Rug Size Before Your Rug Design
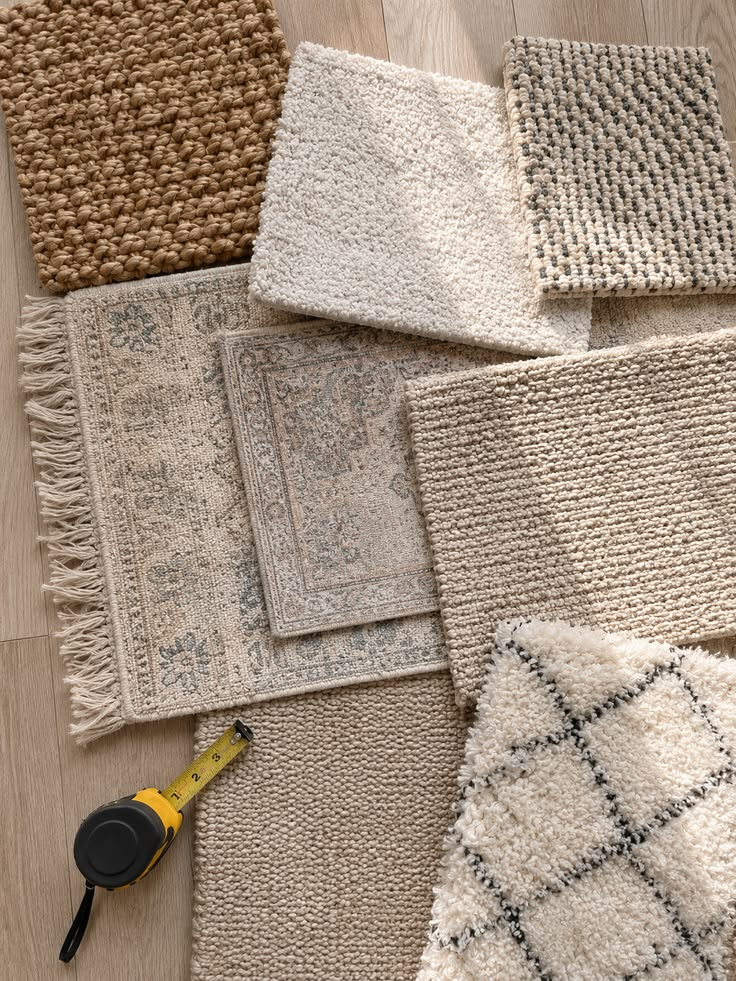
A too-small rug is one of the single biggest things that makes an otherwise well-furnished living room look unfinished and cheap, and it’s a mistake almost everyone makes at least once. The general rule that actually works: at minimum, the front legs of your major furniture pieces (sofa, chairs) should sit on the rug, and ideally all four legs do if your room and budget allow for it.
Once you know the size you need, then start looking at colors and patterns — going the other order (falling in love with a rug design first) is how people end up compromising on size and living with that “floating rug” look for years without quite knowing why the room feels off.
Pro tip: Use painter’s tape on the floor to mark out your intended rug dimensions before buying anything — it takes five minutes and saves you from the extremely common mistake of a rug that looked plenty big in a product photo but reads as tiny once it’s actually under your furniture.
Step 6: Establish Your Color Palette From the Biggest Pieces Down
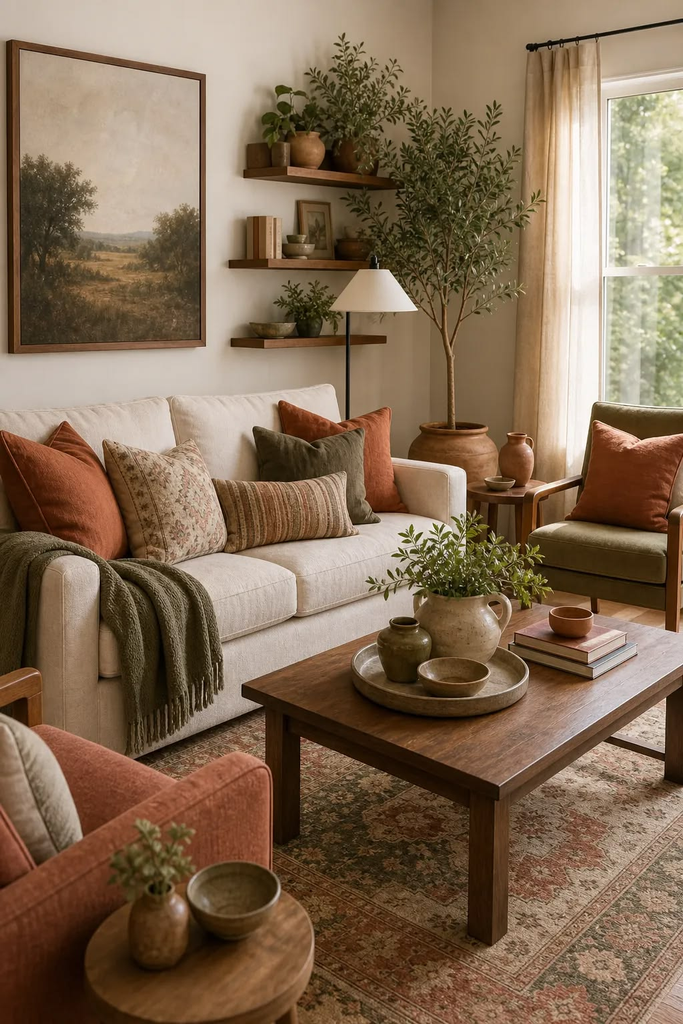
Rather than picking paint first and then trying to find furniture to match it (which limits your options dramatically), pull your palette from your biggest fixed or near-fixed elements — your sofa, your rug, your flooring — and let the wall color and smaller accents follow from there. This order gives you more flexibility, since furniture and rugs come in far fewer color options than paint does.
A generally reliable approach for beginners: pick one dominant neutral, one secondary color, and one accent color, and use that same three-color logic across the whole room rather than introducing a new color with every new item you buy. It sounds restrictive, but it’s genuinely the fastest way to get a room that reads as intentional instead of accumulated.
Step 7: Plan Your Furniture Layout Around Conversation, Not Just the TV
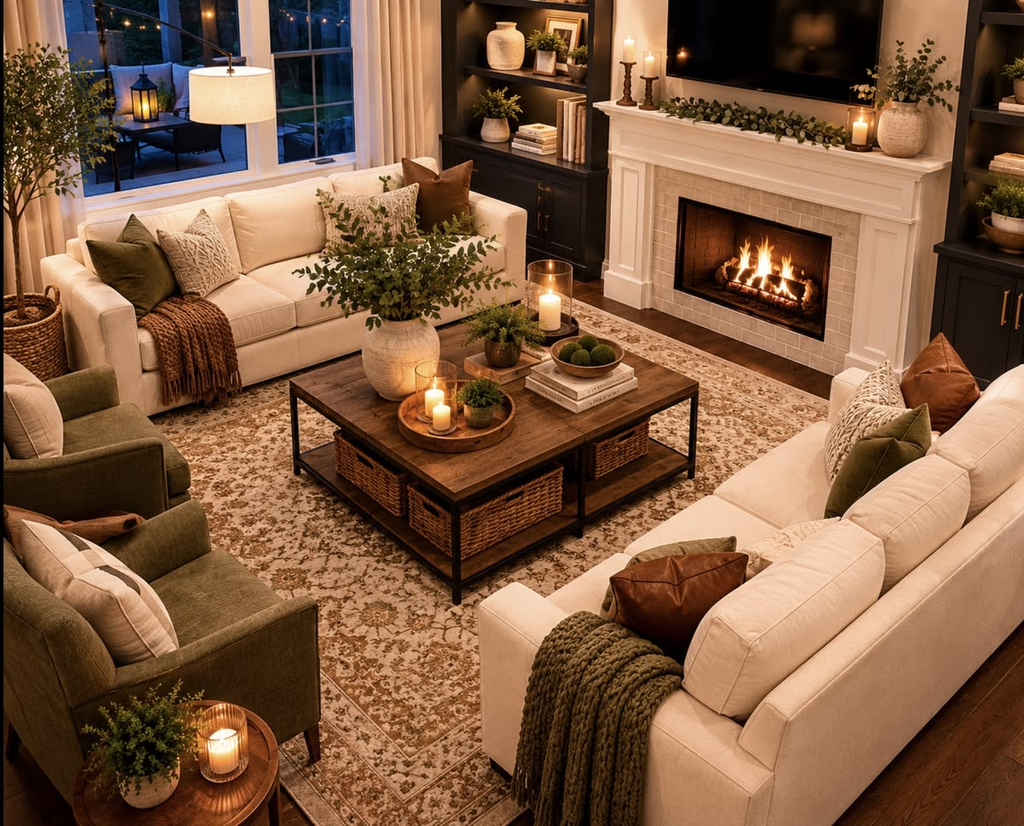
A lot of beginner living rooms default to everything facing a TV on one wall, which works fine for pure media consumption but makes actual conversation and hosting awkward, since nobody’s really facing each other. If hosting or spending time together (not just watching TV) matters to how you use the room, angle at least one seat toward the conversation area rather than putting every single seat in a straight line facing the screen.
Leave enough walking space between pieces — a rough guideline is at least a couple of feet of clearance for main walkways — since a beautifully chosen furniture set crammed too close together reads as cluttered no matter how good each individual piece is.
Step 8: Layer Your Lighting Instead of Relying on One Overhead Fixture
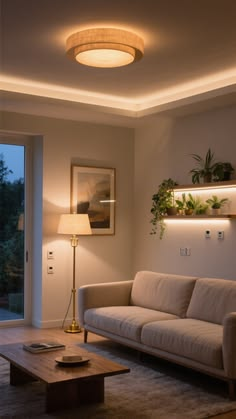
A single ceiling light is almost never enough to make a living room feel warm and finished, and it’s one of the cheapest, highest-impact fixes once you notice it. Aim for at least three light sources at different heights — an overhead or ceiling fixture, a floor lamp, and a table or accent lamp — so you can adjust the mood depending on time of day and what the room’s being used for.
Warm-toned bulbs make a bigger difference than people expect, especially in the evening; a cool white bulb can make even a well-decorated room feel a little clinical and unfinished by comparison.
Step 9: Add Art and Decor Last, Once the Big Pieces Are Settled
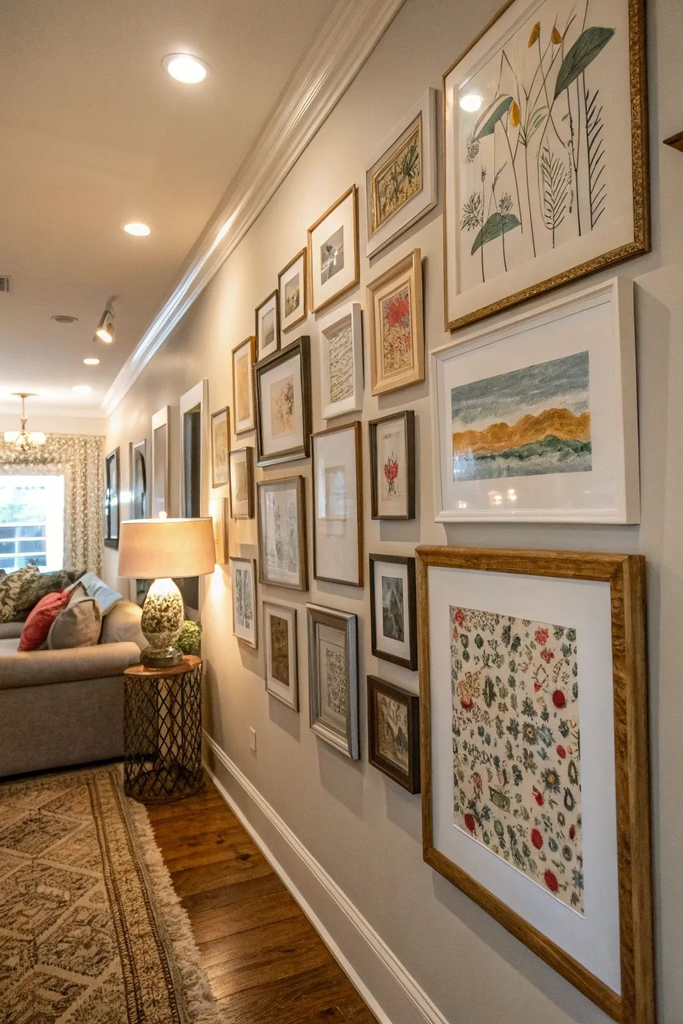
Art, decorative objects, and accessories are the easiest and cheapest things to get wrong in a way that’s also the easiest and cheapest to fix, which is exactly why they belong at the end of the process rather than the beginning. Once your furniture, rug, and lighting are settled, you’ll have a much clearer sense of what the room actually needs — an empty wall that needs art, a side table that needs a lamp, a shelf that needs styling — rather than guessing at accessories before the bones of the room exist.
A reader once told me she waited a full six weeks after finishing her furniture before buying a single piece of art, specifically so she could live in the space and notice what it genuinely needed rather than what looked good in a mood board, and she said it saved her from buying at least two pieces she would have regretted.
Step 10: Resist Filling Every Wall and Surface Immediately
One of the most common beginner instincts is to fill every empty wall and flat surface right away because an empty space feels unfinished, but negative space is actually a design tool, not a problem to solve. A room with a few empty walls and some breathing room on surfaces often reads as more intentional and higher-end than one where every inch has been decorated, simply because the eye has somewhere to rest.
Pro tip: Live in a “mostly done” room for a few weeks before rushing to fill the last few gaps. What feels like an obvious missing piece in week one sometimes turns out to be a spot you actually prefer left open once you’ve spent real time in the space.
Step 11: Add Texture Through Textiles Before Adding More Furniture
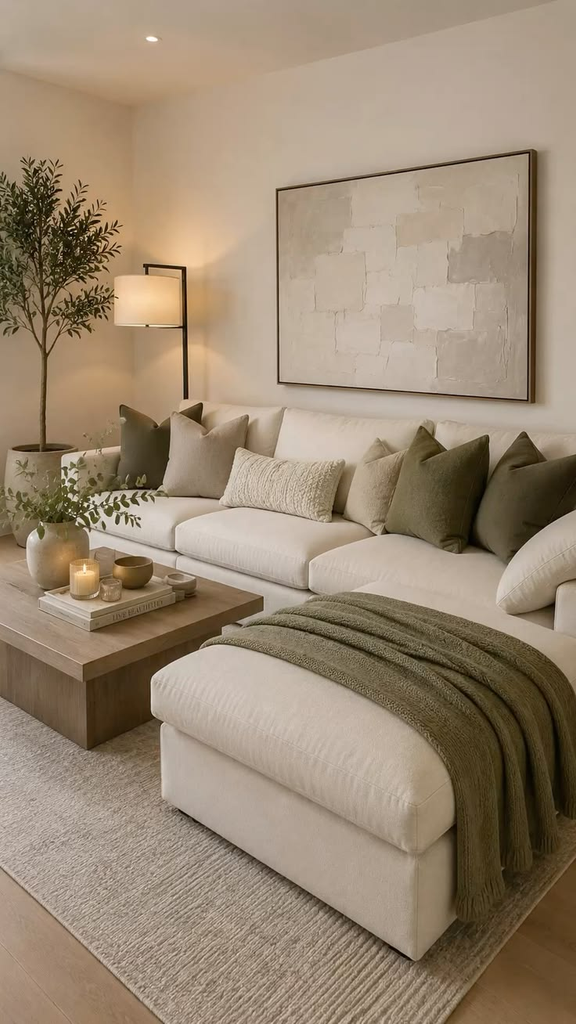
If a finished room still feels a little flat or cold, the fix is usually texture, not more furniture — a chunky knit throw, some textured pillow covers, a woven basket, linen curtains. This is one of the cheapest and most reversible ways to add warmth and depth to a room, and it’s a much better first move than buying another piece of furniture you might not actually have room for.
Step 12: Plant Life or Greenery as the Final Layer
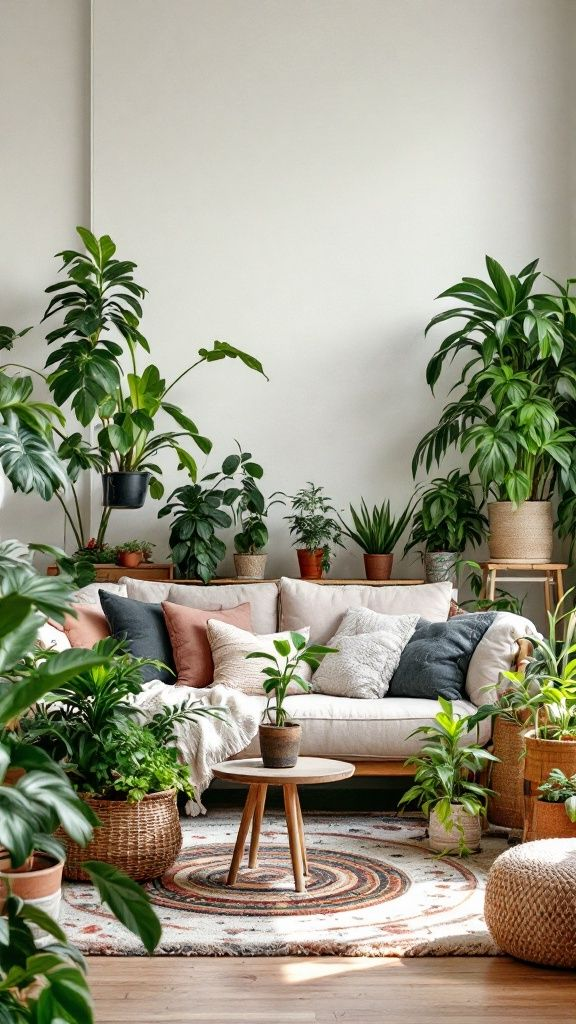
A living room with genuinely zero plant life, real or faux, often reads as slightly unfinished even when every other element is dialed in — greenery adds a softness and life that hard furniture surfaces and textiles alone don’t provide. A single well-placed larger plant does more for a room than several small scattered ones, so if budget or plant-care confidence is limited, prioritize one good specimen over five mediocre ones.
If I Were Starting My First Living Room Again
I’d sit with the actual questions — how do we use this room, what do we want it to feel like — for longer than felt necessary before buying a single thing, instead of falling for the first rug I liked and building backward from there like I did. The room I have now, built in the right order, came together with less trial and error and fewer returns than that first attempt ever did, and it’s the order, more than any individual purchase, that made the difference.


Leave a Reply