
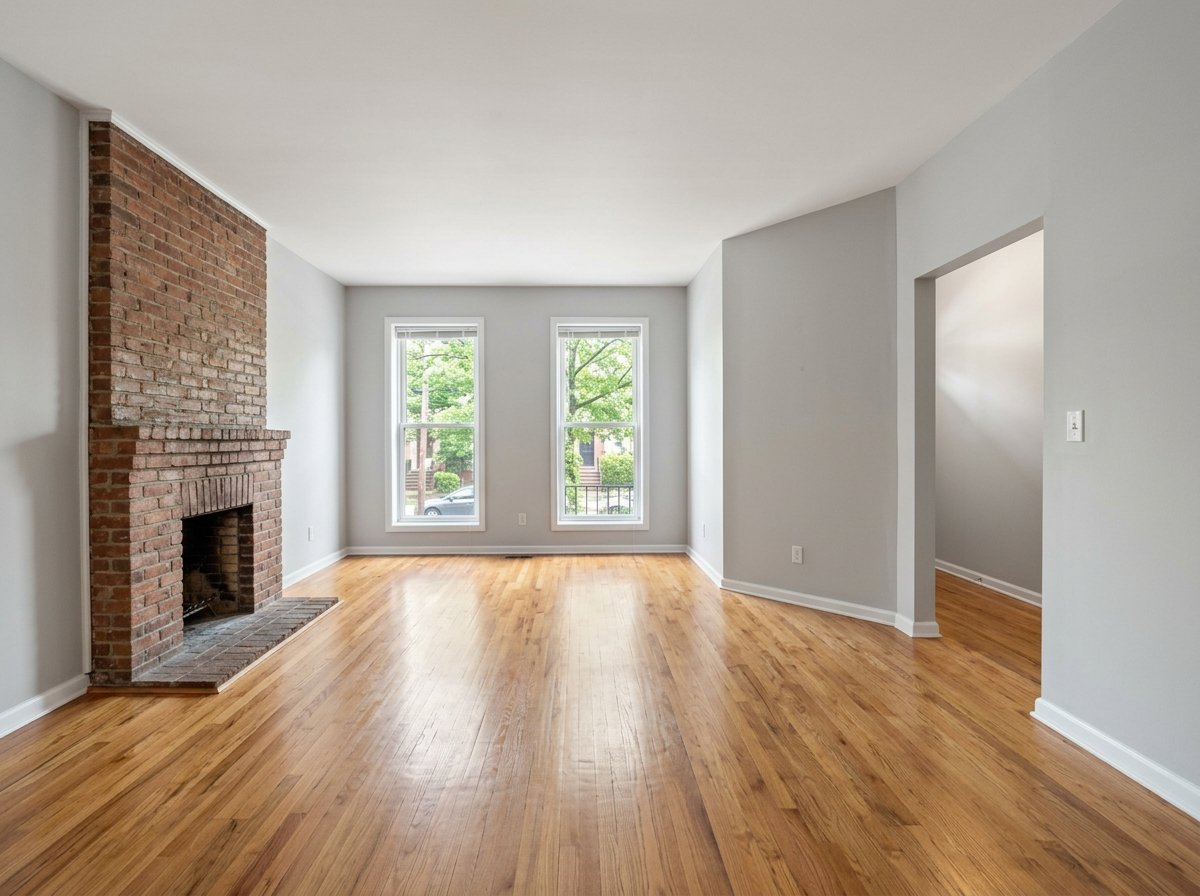
My first apartment’s living room was 11 feet wide, 22 feet long, had a doorway on three of the four walls, and a radiator running the entire length of the one wall I actually wanted to put a couch against.
I rearranged that room probably eleven times over two years before I figured out that the problem wasn’t my furniture — it was that I kept trying to force a normal rectangular-room layout onto a space that was never going to work that way.
Once I stopped fighting the shape of the room and started designing around its actual constraints, it took one afternoon to fix what two years of guessing hadn’t.
So this is a real how-to for arranging furniture in an awkward living room layout, not a generic “just add a rug” post.
I’ll walk through the process I’d actually use if I were starting from scratch in a difficult room, and then get specific about the layouts that come up constantly — long narrow rooms, rooms with too many doorways, off-center fireplaces, and open-concept spaces with no natural boundaries — because “awkward” means something pretty different depending on which of those you’re dealing with.
Before you move a single piece of furniture, walk the room and physically trace how you move through it during a normal day — where you enter, where you’d walk to get to the kitchen or a hallway, where you’d naturally cross to open a window.
That traffic pattern is the actual foundation everything else in this post builds on, and skipping it is why so many rearrangements don’t stick.
Step 1: Map Your Traffic Flow Before You Think About Furniture At All
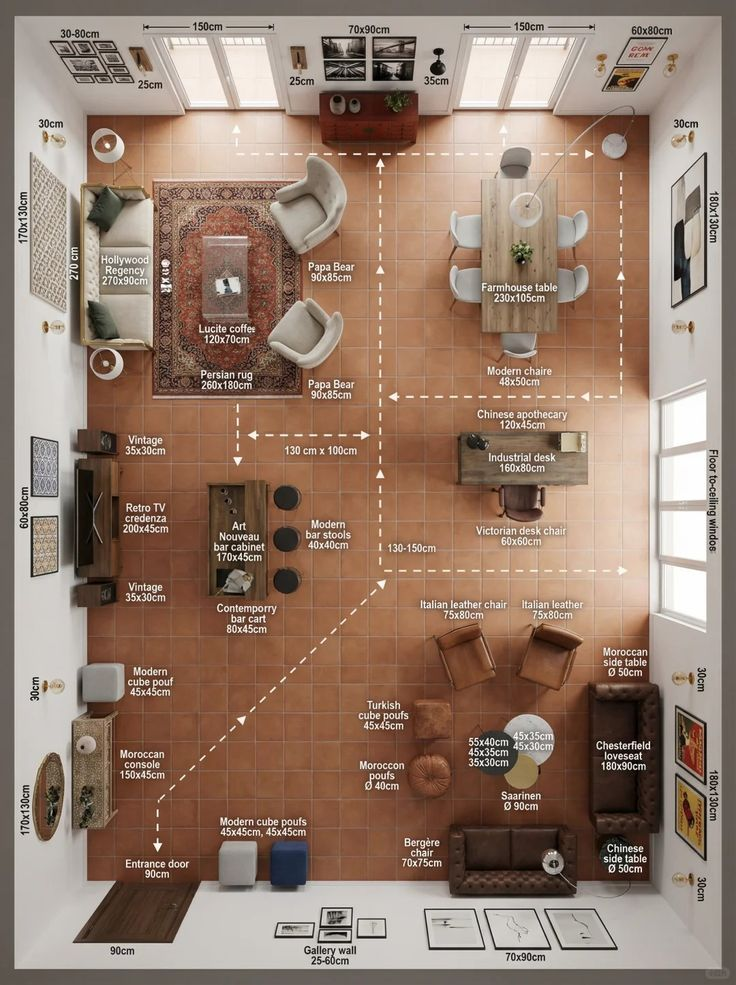
This is the step almost everyone skips, and it’s the reason a layout that looks good on paper sometimes feels wrong the moment you actually live in it. Every room has natural paths — from the main entry to the couch, from the couch to the TV, from anywhere to a hallway or kitchen doorway — and furniture placed across those paths creates a room that people unconsciously avoid using the way you intended.
Walk the actual paths you and anyone else in your household take through the room over a normal day, and mark them mentally (or with painter’s tape if you want to be precise) before deciding where anything goes.
A general rule that holds up in almost every room: leave at least 30 inches of clear walking space along your main traffic paths, and closer to 36 inches if the path handles regular two-way foot traffic.
Pro tip: Awkward rooms often have more entry points than a standard rectangular room — multiple doorways, an open stairway, a pass-through to a dining area — and every one of those needs its own clear path, not just the main one. This is usually where the real awkwardness comes from, not the room’s actual dimensions.
Step 2: Establish a Focal Point, Even If the Room Doesn’t Hand You One
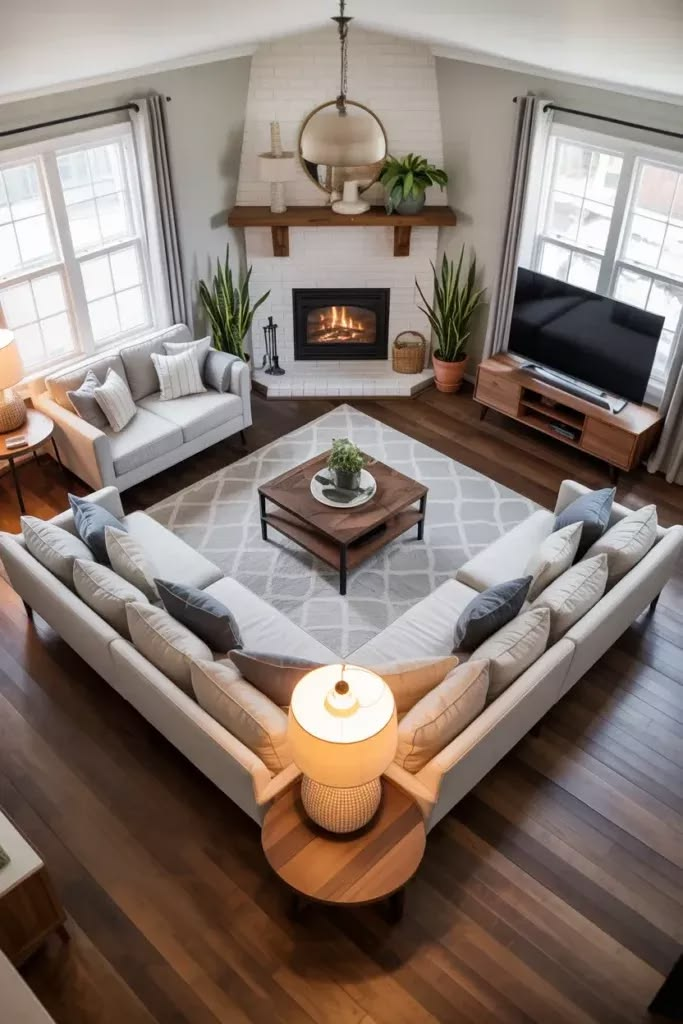
A lot of awkward rooms don’t have an obvious focal point the way a room with a fireplace or a big window does, and furniture arranged with no focal point tends to drift toward just lining the walls, which is almost always the least interesting and often least functional option.
If your room doesn’t have a natural anchor, you get to create one — usually the TV, a large piece of art, or a well-placed piece of furniture like a substantial bookshelf.
Once you’ve picked (or created) a focal point, orient your main seating toward it, even if that means the seating arrangement doesn’t run parallel to the room’s actual walls. This is the single biggest permission a lot of people need — furniture doesn’t have to sit flush against a wall or square with the room’s shape, and angling a seating area toward an actual focal point usually looks more intentional than a symmetrical arrangement that ignores it.
Step 3: Float Furniture Away From the Walls, Especially in Larger or Oddly-Shaped Rooms
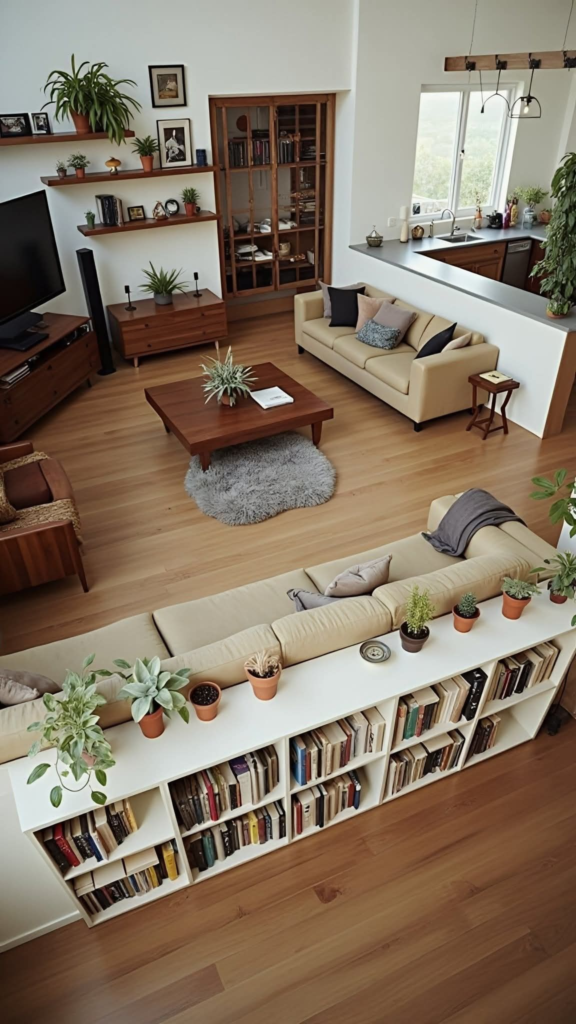
The instinct in a big or awkward room is to push everything to the perimeter to “make more room in the middle,” and it’s almost always the wrong move — a large room with all the furniture against the walls just feels empty and disconnected, and an oddly-shaped room often has walls that aren’t parallel or square in the first place, so lining up against them can actually make the awkwardness more obvious, not less.
Floating a sofa or a seating grouping several feet off a wall, with a console table or a narrow shelf behind it to fill that gap, creates a defined zone within a larger or irregular space rather than furniture that just sits at the edges.
My aunt Colette did this in her oddly L-shaped living room — floated her sectional into the “bend” of the L instead of pushing it into either straight section — and it finally made the room feel like one space instead of two disconnected ones.
Step 4: Use Rugs to Define Zones, Not Just Add Texture
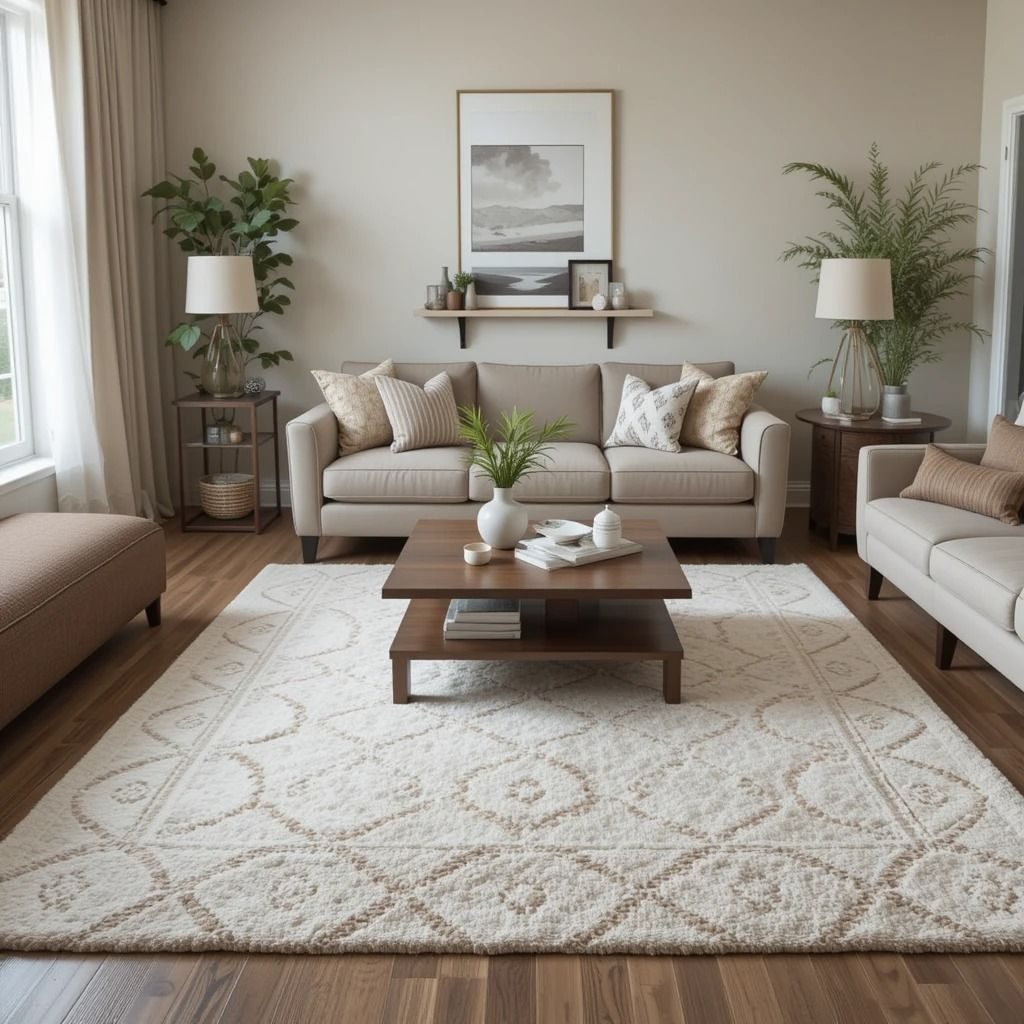
In an awkward layout — especially open-concept spaces or rooms with multiple functions crammed into one area — a rug isn’t just decorative, it’s doing real structural work by visually defining where one “zone” ends and another begins.
A rug that’s too small for its furniture grouping is one of the most common mistakes I see, and it actually makes an already-confusing room read as more chaotic rather than more organized.
The general sizing rule: at minimum, get the front legs of your major seating pieces onto the rug; ideally, all the furniture in that grouping sits fully on it. In an oddly-shaped room, using a rug shape that doesn’t match the room’s actual shape (a round rug in a long narrow room, for instance) can help break up a rigid rectangular feel that’s contributing to the awkwardness in the first place.
Solving the Long, Narrow Living Room
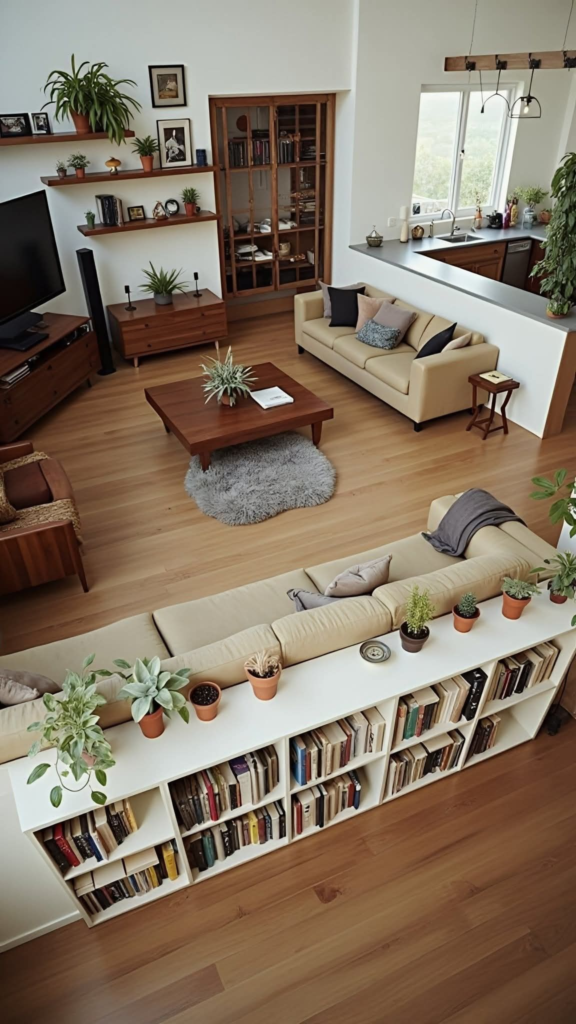
This is one of the most common “awkward” complaints, and it has some specific fixes beyond the general steps above.
Rather than lining furniture up along the two long walls (which emphasizes the narrowness and creates a bowling-alley feel), break the room into two or more distinct zones along its length — a seating area at one end, a reading nook or a small desk at the other — using a rug or a piece of furniture like a console table as the dividing line between them.
Angling a sofa across a corner rather than flush against the long wall can also help disrupt the tunnel-like feeling a narrow room creates, especially if there’s a window at one end you want to preserve sightlines to.
Pro tip: Vertical elements — tall bookshelves, floor lamps, artwork hung higher than usual — draw the eye up and reduce how much the narrowness of the room registers, which matters more in this layout than almost any other awkward configuration.
Solving the Room With Too Many Doorways
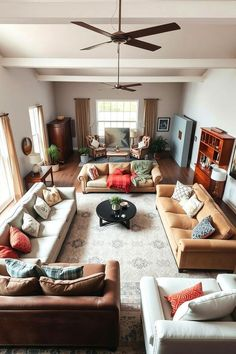
Multiple entry points eat into your usable wall space and multiply the number of traffic paths you need to keep clear, which is exactly the problem my first apartment had.
Start by identifying which doorway actually gets used regularly versus which ones are secondary or rarely used — a doorway to a coat closet gets treated very differently than the main entry from a hallway. Furniture can sometimes partially block a secondary or rarely-used doorway (a low bookshelf near an unused closet door, for instance) in a way that would never work for a primary path.
For rooms where every doorway genuinely gets regular use, a centered furniture arrangement — floating a seating group in the middle of the room rather than trying to use any wall as an anchor — often works better than trying to find a “good” wall, since no single wall in these rooms usually has enough uninterrupted space to actually anchor a full seating arrangement.
Solving the Off-Center Fireplace or Architectural Feature
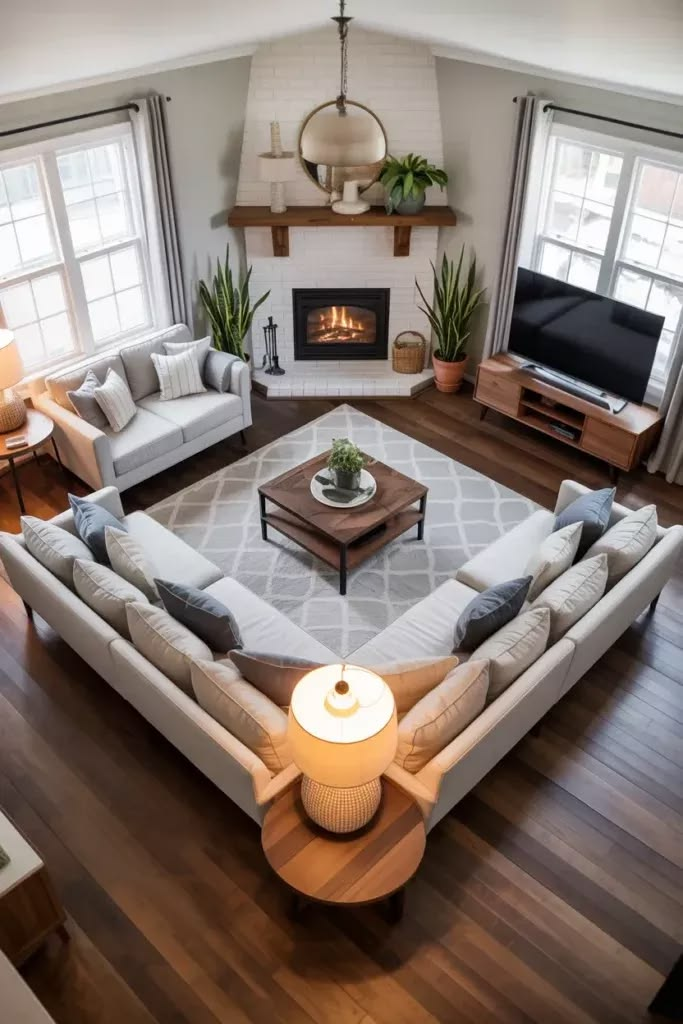
An off-center fireplace, an oddly-placed window, or a support column that isn’t centered on any wall creates a specific kind of awkwardness — the room wants to be organized around a feature, but that feature isn’t in a position that makes a symmetrical layout possible.
Rather than fighting for symmetry around an off-center feature, lean into asymmetry deliberately. Arrange your main seating to face the fireplace or feature directly, and let the rest of the room’s furniture fall into the resulting asymmetrical space rather than trying to visually “balance” the feature with furniture on its other side.
A reader named Wren mentioned in a comment that her fireplace sat only 2 feet from one corner, and she’d spent months trying to squeeze a matching side table into that gap before finally just letting that side stay narrower and adding a taller floor lamp there instead — sometimes the fix is accepting the imbalance rather than trying to correct it.
Comparing Arrangement Approaches by Room Problem
Here’s a quick reference for which general approach tends to work best depending on your specific type of awkward layout.
| Layout Problem | Best Arrangement Approach | Avoid |
|---|---|---|
| Long, narrow room | Break into zones along the length; angle furniture at one end | Lining both long walls symmetrically |
| Too many doorways | Float furniture centrally; identify and deprioritize secondary doors | Trying to anchor against every wall equally |
| Off-center fireplace/feature | Face seating toward the feature; accept resulting asymmetry | Forcing symmetrical furniture placement around it |
| Open-concept, no boundaries | Use rugs and furniture backs to create zone edges | Letting furniture drift with no defined groupings |
| Odd angles or L-shapes | Float furniture into the bend/angle rather than against straight walls | Pushing everything to the perimeter |
Solving the Open-Concept Space With No Natural Boundaries
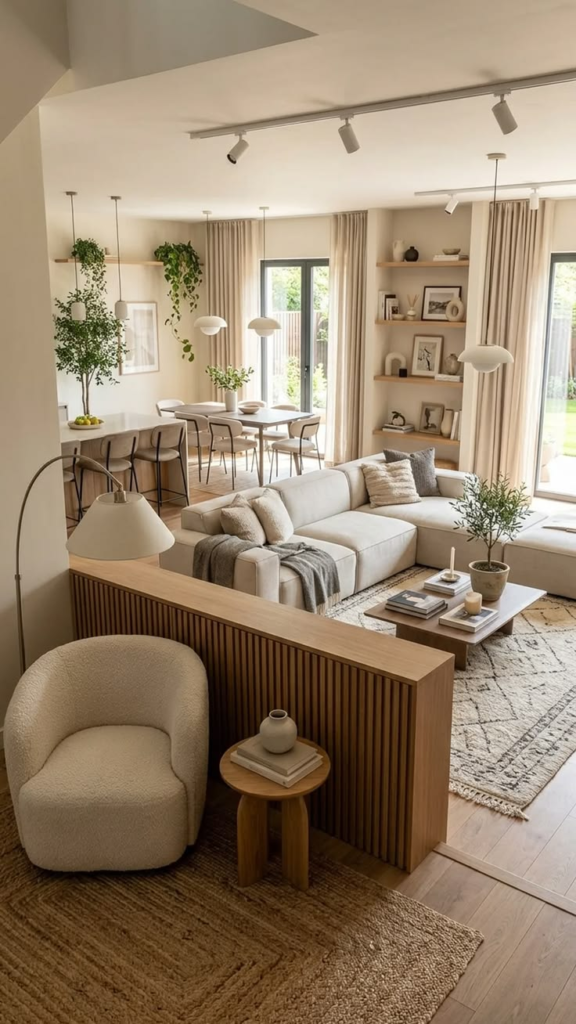
Open floor plans are popular for a reason, but they create a specific awkwardness: without walls to define where the living room ends and the dining or kitchen area begins, furniture can end up feeling like it’s just scattered in one big undefined space.
The back of a sofa is one of the most underused tools here — positioning a couch with its back facing the dining or kitchen area (rather than against a wall) creates an immediate visual boundary between zones without needing an actual physical divider.
Adding a slim console table behind that sofa reinforces the boundary and gives you a spot for lamps or décor that further signals “this is where the living room ends.”
Pro tip: Consistent flooring throughout an open-concept space makes zone definition through furniture and rugs even more important, since you don’t get the natural boundary that a change in flooring material would otherwise provide.
Solving the Room With Odd Angles or an L-Shape
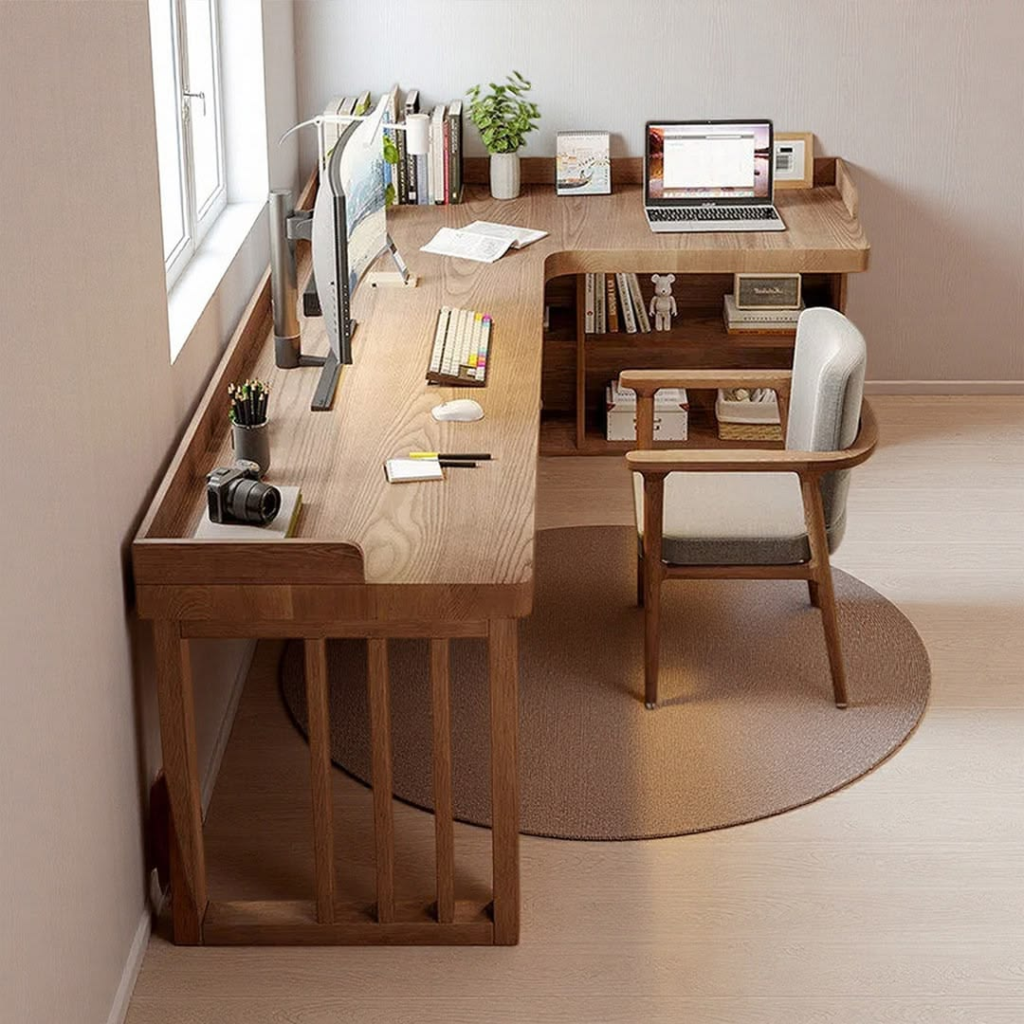
Rooms with a bend, a jog in the wall, or a genuinely non-rectangular footprint resist standard furniture arrangement advice because most of it assumes four straight walls at right angles.
Rather than trying to treat each section of an L-shaped room as its own mini rectangular room, consider floating your main seating into the bend itself, which often uses the room’s actual shape more naturally than forcing furniture into the straight sections and leaving the angled corner as awkward dead space.
If the angled or jogged section is too small for seating, it’s often a good spot for a functional piece that doesn’t need much clearance around it — a narrow bookshelf, a small desk, or a plant display — rather than trying to force a full-size furniture piece to fit an irregular space it wasn’t sized for.
What to Buy If You Need New Pieces for an Awkward Layout
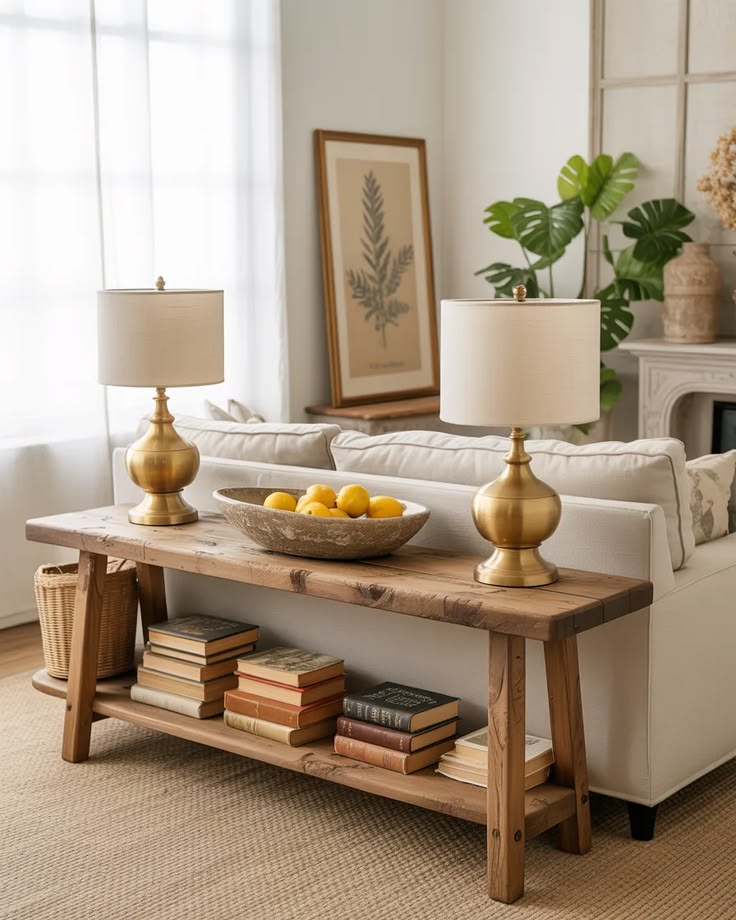
If your current furniture genuinely doesn’t fit the room’s constraints, a few specific piece types are worth prioritizing over others when shopping for an awkward space. A sectional with a chaise that can be configured on either side gives you flexibility if you’re not sure yet which orientation will actually work once it’s in the room.
Console tables specifically sized for behind-sofa placement (usually under 14 inches deep) are worth the search versus a generic side table that’s too deep for a floating arrangement. And a rug that’s genuinely too small for the space is one of the most common wasted purchases — measure your intended furniture grouping before buying, not just the room’s total square footage.
What This Actually Costs
Rearranging existing furniture using the steps above costs nothing beyond the rug you might need to properly size a seating zone — a rug appropriately sized for a real seating grouping typically runs $150-400 depending on size and material, and it’s usually the single highest-impact purchase for fixing an awkward layout without buying new furniture. If you do need new pieces specifically suited to your room’s constraints — a properly-sized console table, a reconfigurable sectional — budget significantly more, but prioritize the console table and rug first since they’re doing the structural work of zone definition that the bigger furniture purchases depend on to actually look intentional.
Where I’d Start If I Were Doing This Over
I’d map the actual traffic flow before touching a single piece of furniture, the way I eventually did in that first apartment after way too many failed rearrangements. Every other fix on this list — floating furniture, creating zones with rugs, working around an off-center feature — depends on already understanding how people actually move through the space, and skipping that step is why so many living room rearrangements look right for about a week before you realize something about how the room functions still feels off.


Leave a Reply